


This article will explain different ways of exporting data from SQL Server to the CSV file. This article will cover the following methods:
- Export SQL Server data to CSV by using the SQL Server export wizard
- Export SQL Server data to CSV by using the bcp Utility
- Export SQL Server data to CSV by using SQL Server Reporting Services (SSRS) in SQL Server Data Tools (SSDT) within Visual Studio
- Export SQL Server data to CSV by using the ApexSQL Complete Copy results as CSV option
Export SQL Server data to CSV by using SQL Server export wizard
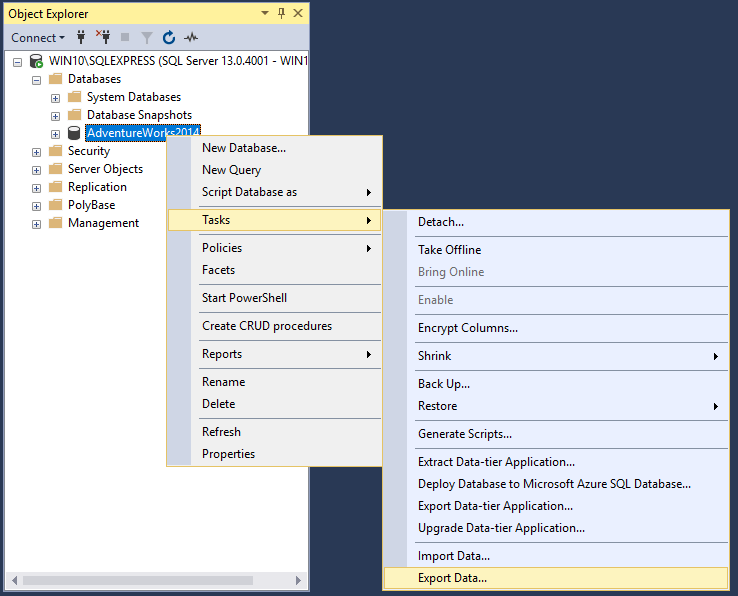
One way to export SQL Server data to CSV is by using the SQL Server Import and Export Wizard. Go to SQL Server Management Studio (SSMS) and connect to an SQL instance. From the Object Explorer, select a database, right click and from the context menu in the Tasks sub-menu, choose the Export Data option:
The SQL Server Import and Export Wizard welcome window will be opened:
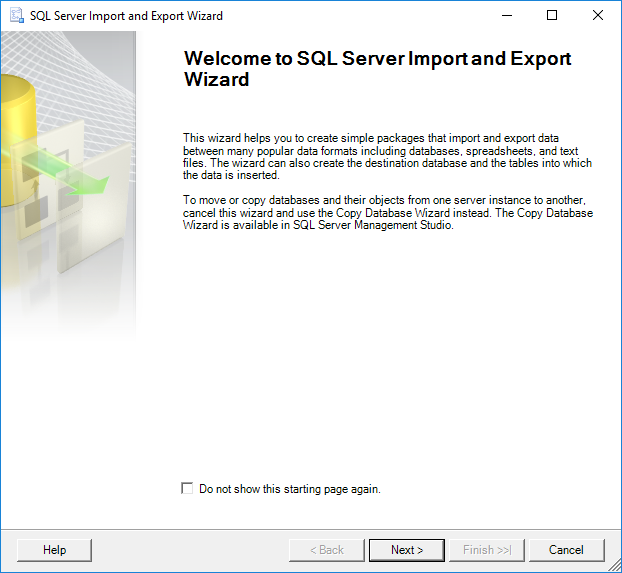
Click the Next button to proceed with exporting data.
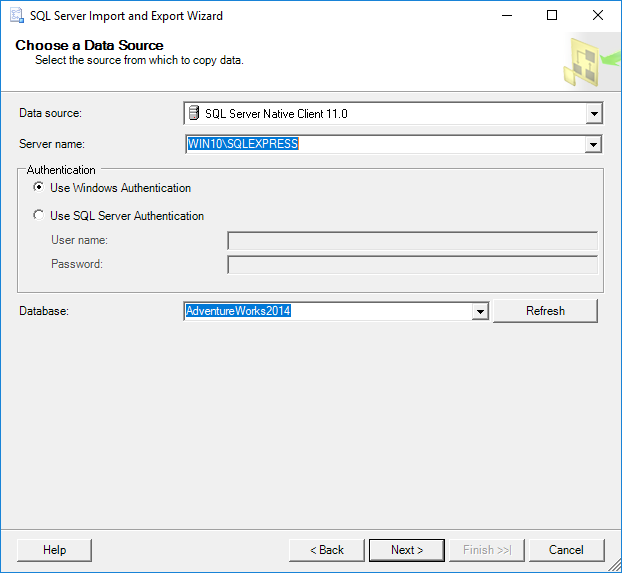
On the Choose a Data Source window choose the data source from which you want to copy data. In our case, under the Data source drop down box, select SQL Server Native Client 11.0. In the Server name drop down box, select a SQL Server instance. In the Authentication section, choose authentication for the data source connection and from the Database drop down box, select a database from which a data will be copied. After everything is set, press the Next button:
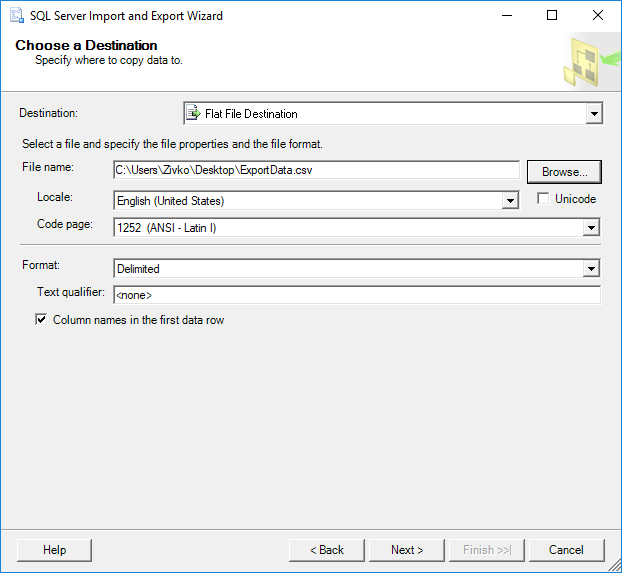
On the Choose a Destination window, specify a location for the data that will be copied from SQL Server. Since the data from the SQL Server database will be exported to the CSV file under the Destination drop down box, select the Flat File Destination item. In the File name box, specify a CSV file where the data from a SQL Server database will be exported and click the Next button:
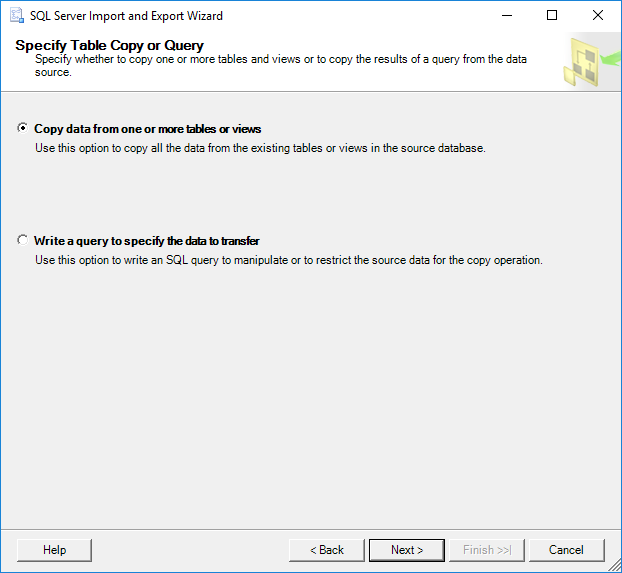
On the Specify Table Copy or Query window, get all data from a table/view by choosing the Copy data from one or more tables or views radio button or to specify which data will be exported to the CSV file by writing an SQL query by choosing the Write a query to specify the data to transfer radio button. For this example, the Copy data from one or more tables or views radio button is chosen. To continue, press the Next button:
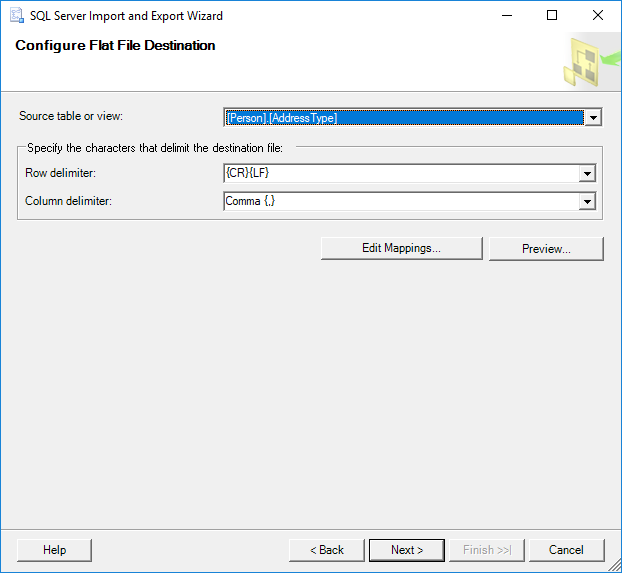
Under the Configure Flat File Destination window, choose the table or view from the Source table or view drop down box for exporting data to the CSV file:
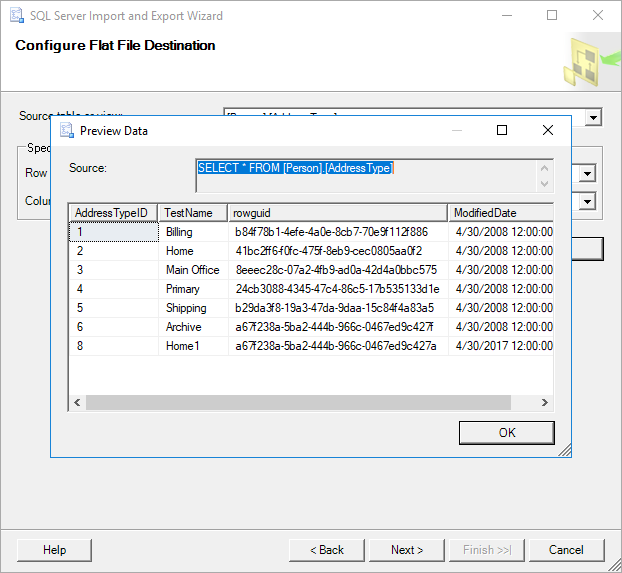
To view which data will be exported to the CSV file, click the Preview button. The Preview Data window will appear with data that will be exported:
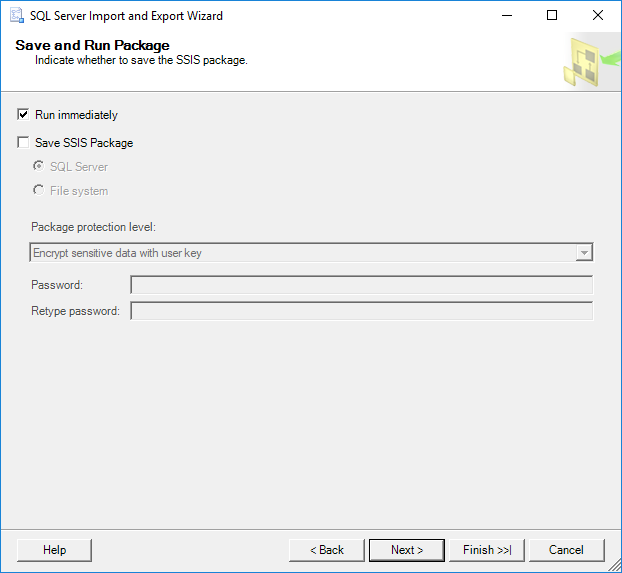
If you are satisfied with the preview data, click the Next button in order to continue with exporting data. The Save and Run Package window will appear. Leave settings as they are and click the Next button:
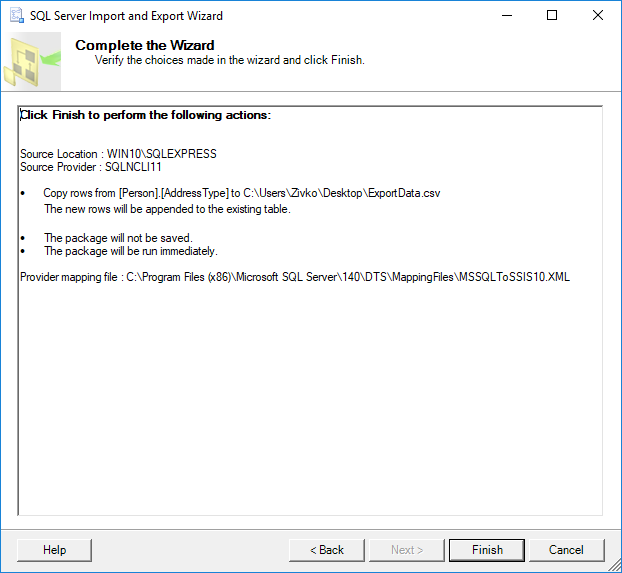
The Complete Wizard window shows the list of choices that were made during of exporting process:
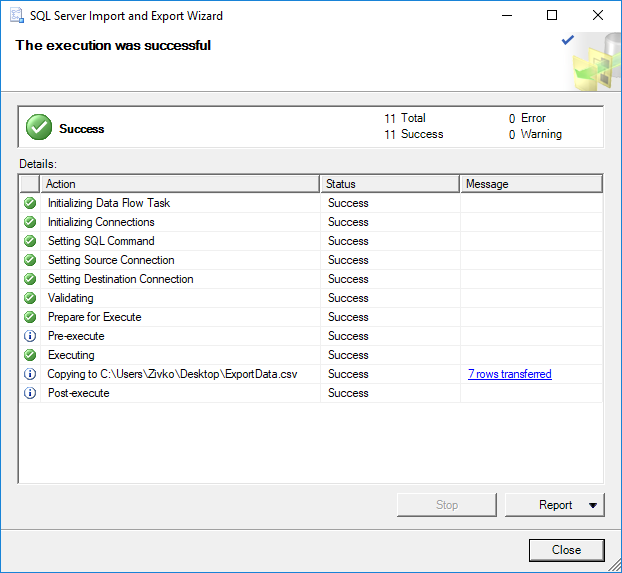
To data from SQL Server to CSV file, press the Finish button. The last window shows information about exporting process, was it successful or not. In this case, the exporting process was finished successfully:
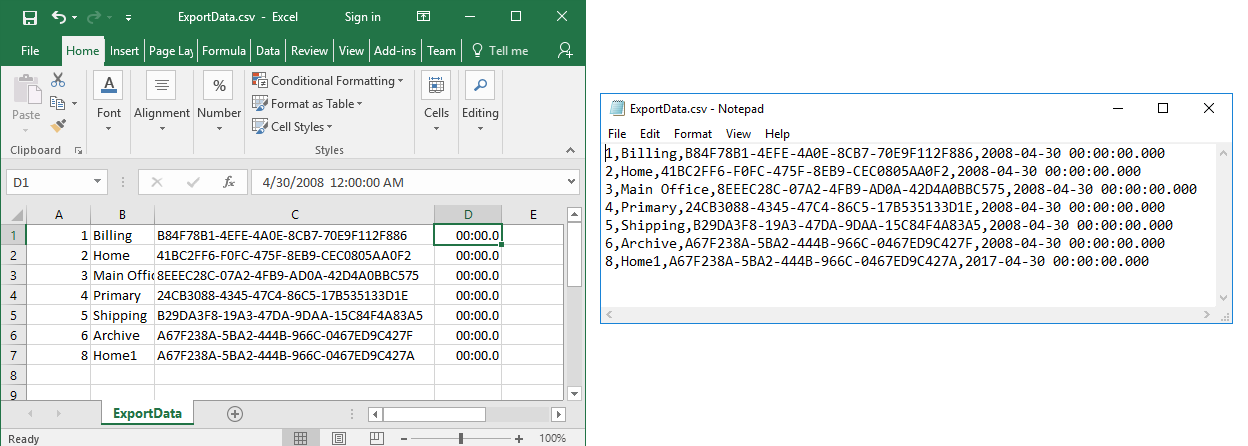
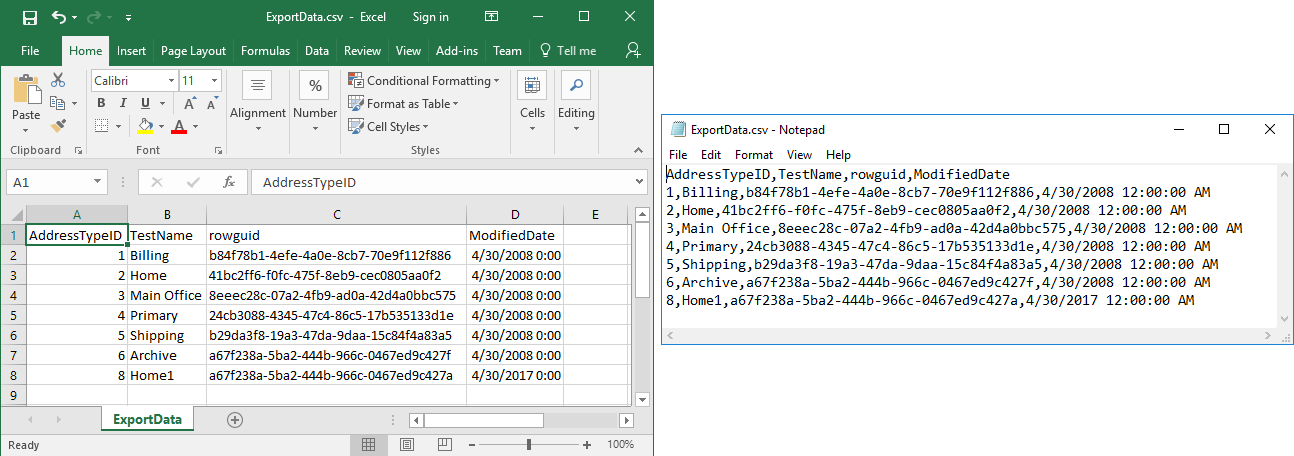
On the image below, the ExportData.csv file in Excel and Notepad is shown with the exported data:

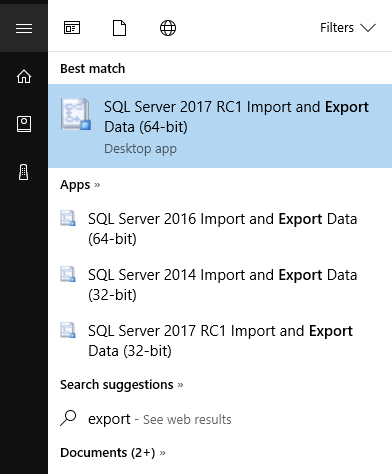
SQL Server Import and Export Wizard can be initiated without using SSMS, go to start and type word “Export”, from the search results choose 64-bit or 32-bit version of SQL Server Import and Export Wizard:
Export SQL Server data to CSV by using the bcp Utility
The bcp (bulk copy program) utility is used to copy data between SQL Server instance and data file. With the bcp utility, a user can export data from an instance of SQL Server to a data file or import data from a data file to SQL Server tables.
To start export SQL data to CSV file, first open Command Prompt (cmd), go to start and type cmd and click on the Command Prompt item:
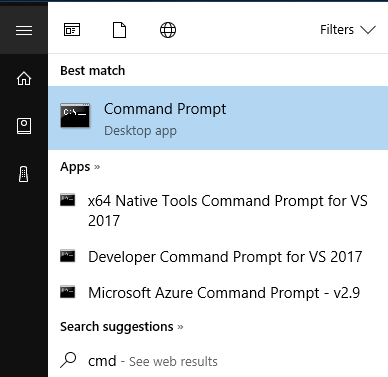
The Command Prompt window will appear:
Then type bcp ? and press the Enter key in order to see if everything works as it should. In our case, an error occurs:
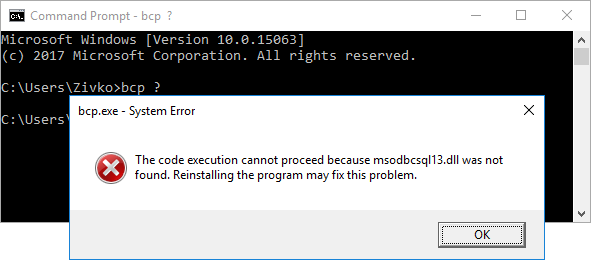
As it can be seen from the error message box, the msodbcsql13.dll file is missing. To resolve this problem, download and install Microsoft ODBC Driver 13 for SQL Server.
Now, when in the Command Prompt window, the bcp ? command is executed, the following information will appear:
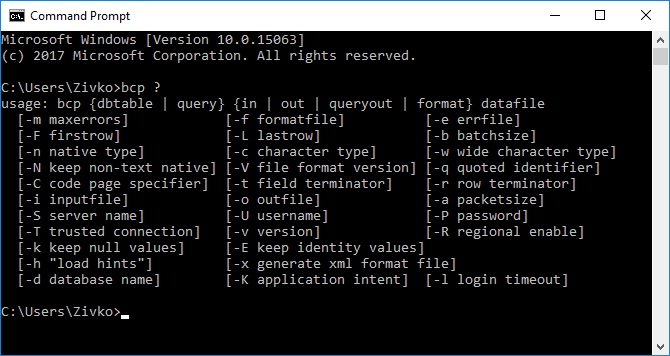
The screen above shows all the different switches that can be used in bcp utility. So, let’s use some of these switches and export SQL Server data to CSV.
In the Command Prompt window, type the word bcp followed by the name of the SQL table from which exporting data should be done by typing the following steps, first type the name of the database which contains the table from which you want to export data, followed by dot. After the dot, type the schema name of the table, after the schema name, type dot and after the dot, type the table name which contains data for exporting (e.g. AdventureWorks2014.Person.AddressType):

After the name of the SQL table, press the Space key and type the word out:

out copy data from the database table or view to a specified file.
Also, the queryout command exists which copies data from an SQL query to a specified file.
The in command copies data from a file to a specified database table.
After the out command, add a location of a CSV file where the data from the SQL table will be placed, for example (C:\Test\ExportData.csv)

Now when the csv file is specified, there are a few more switches that need to be included in order to export SQL Server data to CSV file.
After the CSV file type the -S switch and the name of an SQL Server instance to which to connect (e.g. WIN10\SQLEXPRESS):

Then type the -c switch and, after that, type the -t switch to set the field terminator which will separate each column in an exported file. In the example, the comma ( , ) separator will be used:

At the end, enter a switch which determines how it will be accessed to the SQL Server. If the -T switch is put, that means the trusted (Windows authentication) will be used to access to SQL Server. For SQL authentication, use the -U switch for the SQL Server user and -P for the SQL Server user password.
In this example, the trusted connection (-T switch) will be used:

Now, when the Enter key is pressed, the similar message will appear with information about copied data:

To confirm that data from a specified table have been copied to CSV file, go to the location where the file is created, in our case that will be C:\Test:
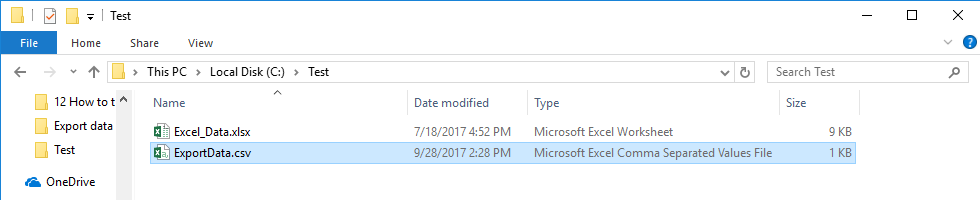
And open the ExportData.csv file:
Export SQL Server data to CSV by using SQL Server Reporting Services (SSRS) in SQL Server Data Tools (SSDT) within Visual Studio
SSRS allows to save exported data in one of the following formats PDF, Excel, XML, MHTML, Word, CSV, PowerPoint and TIFF format.
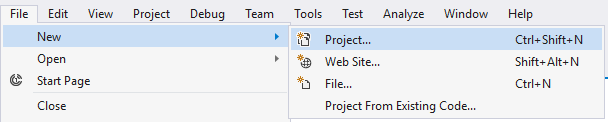
To start creating a report server project first open SSDT. Go to File menu and under the New sub-menu, choose the Project option:
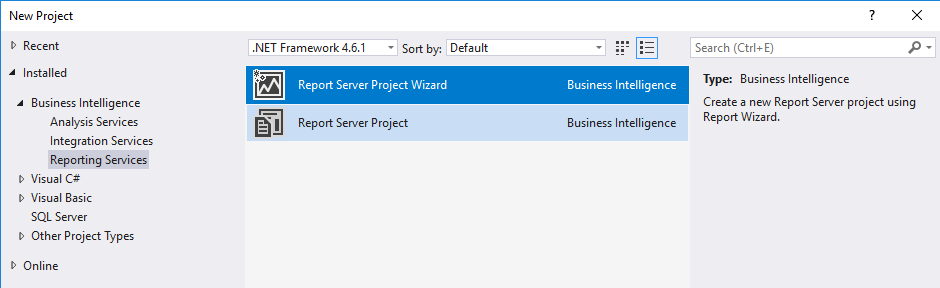
Under Business Intelligence, select the Reporting Services item and on the right side, choose the Report Server Project Wizard option:
- Note: In any case, the Business Intelligence or Report Server Project Wizard options don’t appear, SSDT needs to be updated with the Business Intelligence templates. More about this can be found on the Download SQL Server Data Tools (SSDT) page
In the Name box, enter the name of the project (e.g. ExportData) and in the Location box, choose where the project will be created:

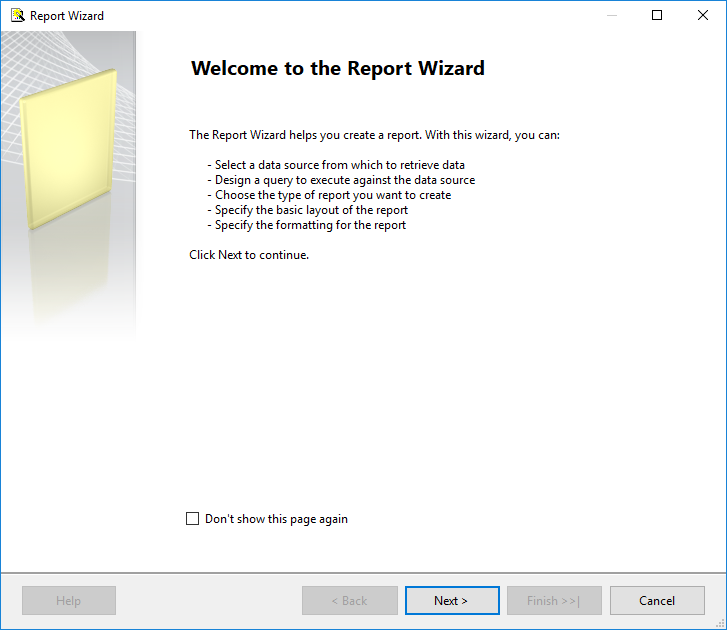
After that is set, press the OK button, the Report Wizard window appears, press the Next button to continue:
The Select the Data Source window will appear:
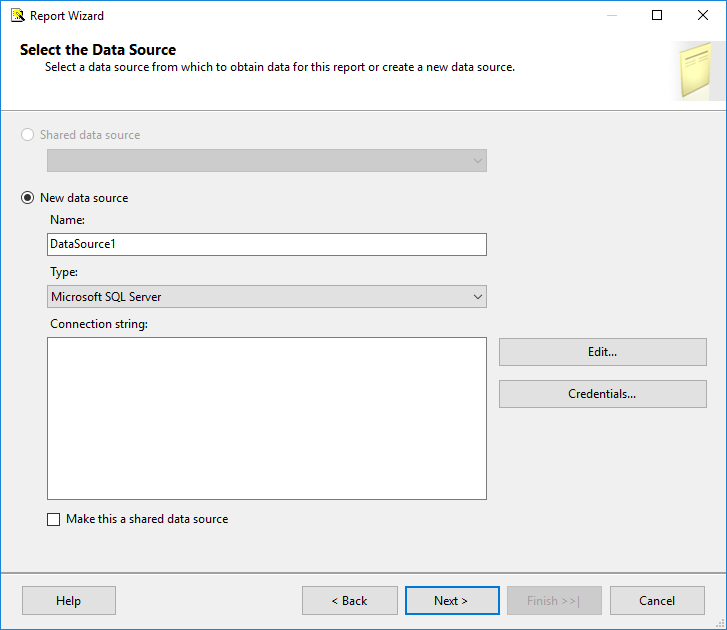
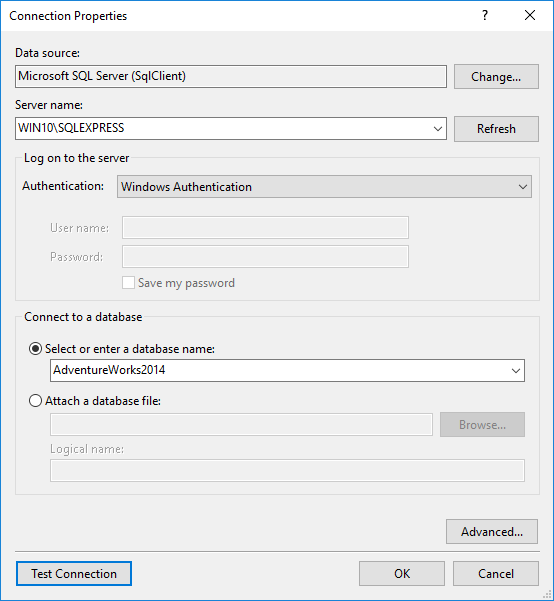
In the Connection string box, a connection string to the SQL Server database can be entered from which a report can be created or press the Edit button on the Select the Data Source window and in the Connection Properties window, set the connection string to the desired database, like from the image below, and press the OK button:
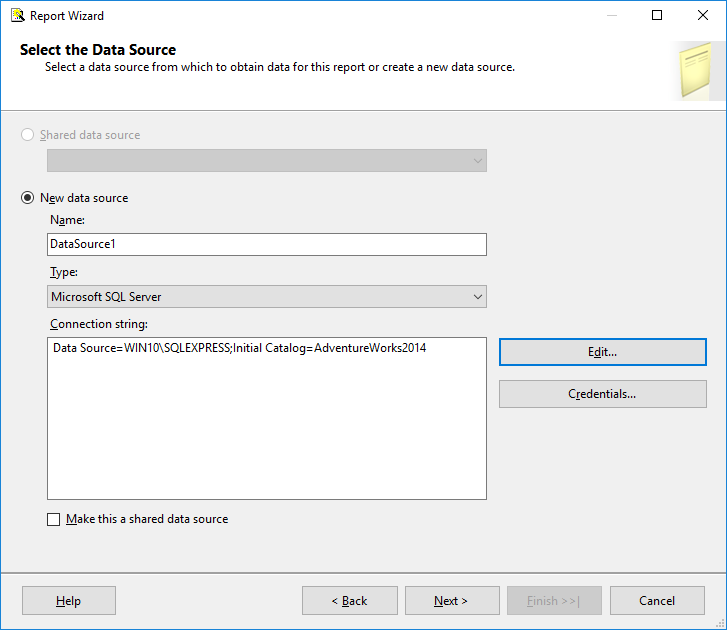
This will be in the Connection string box on the Select the Data Source window. Press the Next button to continue with the settings:
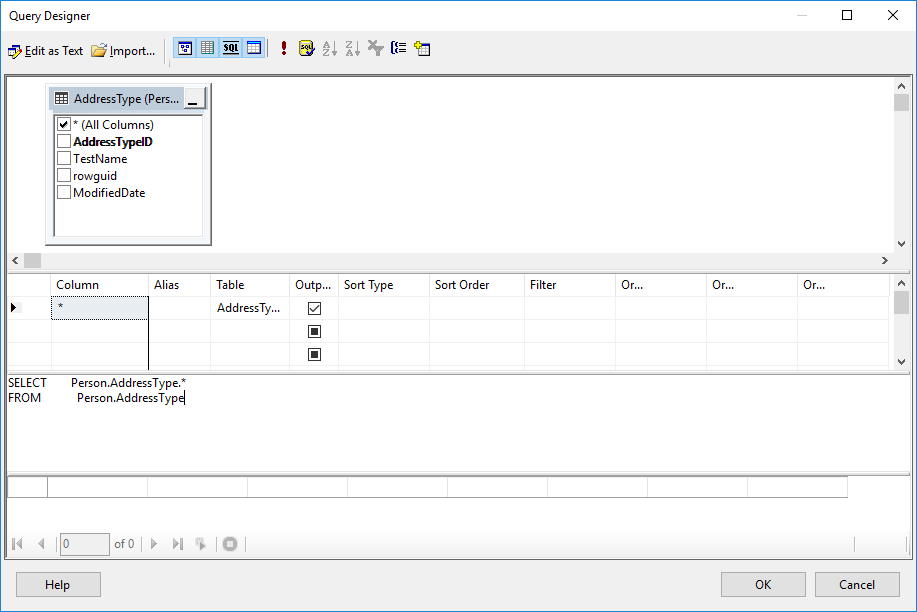
In the Design the Query window, specify a query to execute to get data for the report. There are two ways for getting a query to execute. One way is to use the Query Designer window by clicking the Query Builder button on the Design the Query window:
And the second way is to type the desired query in the Query string box:

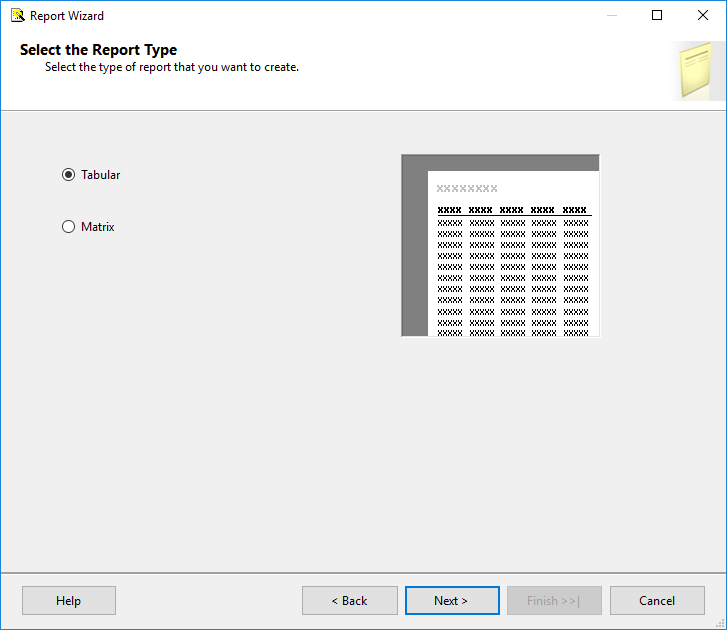
After setting the query, click the Next button. On the Select the Report Type window, leave default settings and press the Next button:
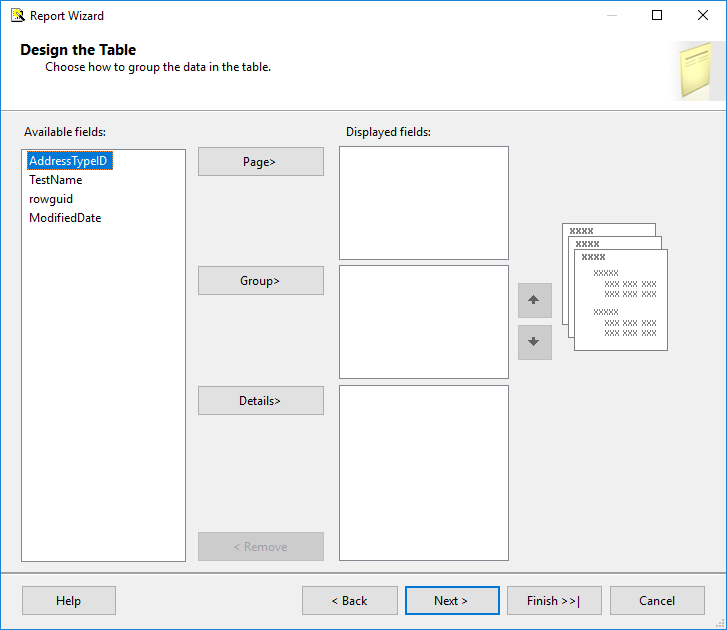
On the Design the Table window, we will leave everything as it is and press the Next button:
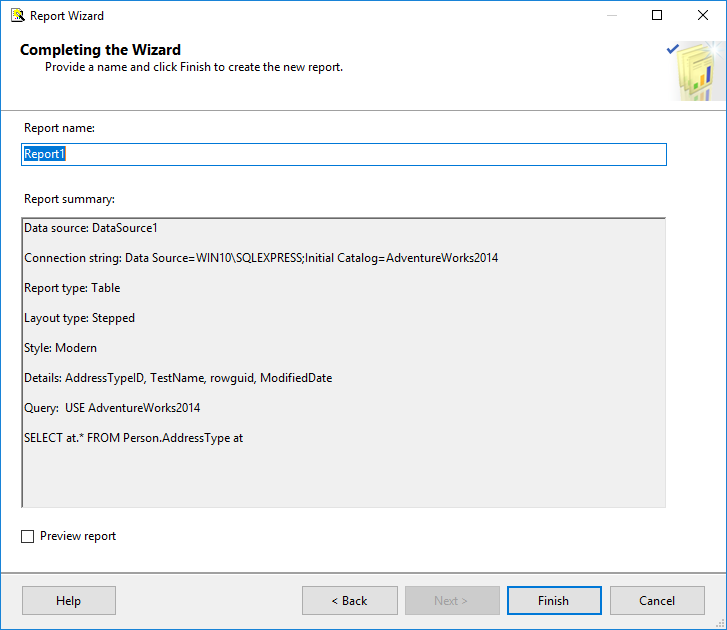
The Completing the Wizard window shows all steps/settings that are taken during the process creating the report. Press the Finish button to create the report:
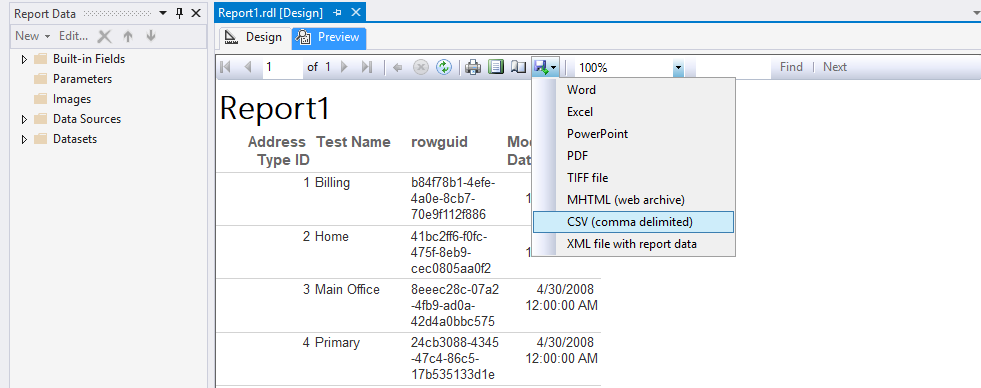
After we pressed the Finish button, the created report will show. Under the Preview tab, click the Export button and, from the menu, choose in which format generated data will be exported (e.g.CSV):
Export SQL Server data to CSV by using the ApexSQL Complete Copy results as CSV option
The Copy code as is a feature in ApexSQL Complete, add-in for SSMS and Visual Studio, that copy the data from the Results grid to a clipboard in one of the following data files: CSV, XML, HTML in just one click.
In a query editor, type the following code and execute:
USE AdventureWorks2014

SELECT at.*
FROM Person.AddressType at
The following results will be displayed in the Results grid:
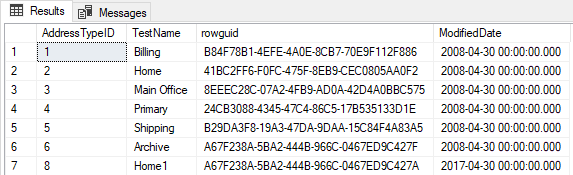
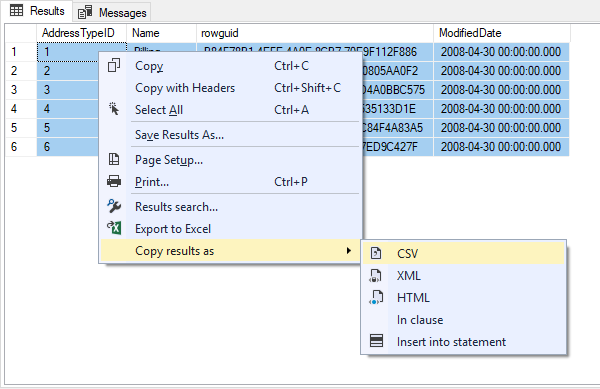
In the Results grid, select the part or all data, right click and from the context menu, under the Copy results as sub-menu, choose the CSV command:
This will copy the selected data from the Results grid to the clipboard. Now, all that needs to be done is to create a file where the copied data should be pasted:
The ApexSQL Complete Copy code as an option can save you a great amount of time when you need to copy repetitive SQL data to another data format.
See also:
- Import and Export Bulk Data by Using the bcp Utility (SQL Server)
- Start the SQL Server Import and Export Wizard
- SQL Server Data Tools
- Create a Basic Table Report (SSRS Tutorial)
October 4, 2017


