


Introduction
While working with a number of databases, creating a recovery plan can be challenging, especially if we want a foolproof design. Automated backup and restore strategies ensure the recovery plan is successful. However, strategies relying on frequent backups, although part of a sound strategy, can start causing issues when available storage space becomes limited. Old database backups are in many cases unnecessary, and it is often prudent to delete those backups to increase available storage. This can be done manually or automatically. There are several options to delete old backup files automatically in SQL Server:
-
Delete old database backup files automatically in SQL Server using a SQL Server Agent Job
-
Delete old database backup files automatically in SQL Server using a SQL Server Maintenance plan
Delete old database backup files automatically in SQL Server using SQL Server Agent:
For this option, the SQL Server Agent service must be installed and running. It requires basic knowledge and understanding of Transact-SQL (T-SQL) scripting, but the process is then entirely automated, so there is no further input from the user needed. It is necessary to create a stored procedure first upon which the SQL Server Agent job we make would call to execution. The advantage of this is the ability to use the same stored procedure across different jobs with different input parameters. To create a SQL Server Agent scheduled to delete old backup files, we must do the following steps:
-
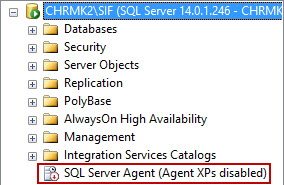
SQL Server Agent service must be running. In the Object Explorer and check the icon beside SQL Server Agent. Should the message “Agent XPs disabled” is shown beside it, go to Control Panel/System and Security/Administrative Tools and run Services (the exact location may vary due to different operating systems). Locate the SQL Server Agent service for the corresponding SQL Server instance, select it and click on Start in the top left of the window, or simply right click on it and select Start. If the service is already running, you can skip this step:
-
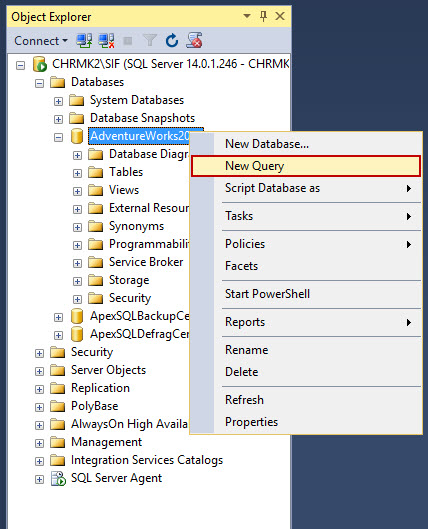
Create a user stored procedure which will use the input from the SQL Server Agent scheduled job to delete old backup files. Right click on the database upon which we want to act and select New Query:
In the new query window enter the following T-SQL:
CREATE PROCEDURE [dbo].[usp_DeleteOldBackupFiles] @path NVARCHAR(256),
	@extension NVARCHAR(10),
	@age_hrs INT
AS
BEGIN
	SET NOCOUNT ON;

	DECLARE @DeleteDate NVARCHAR(50)
	DECLARE @DeleteDateTime DATETIME

	SET @DeleteDateTime = DateAdd(hh, - @age_hrs, GetDate())

        SET @DeleteDate = (Select Replace(Convert(nvarchar, @DeleteDateTime, 111), '/', '-') + 'T' + Convert(nvarchar, @DeleteDateTime, 108))

	EXECUTE master.dbo.xp_delete_file 0,
		@path,
		@extension,
		@DeleteDate,
		1
END
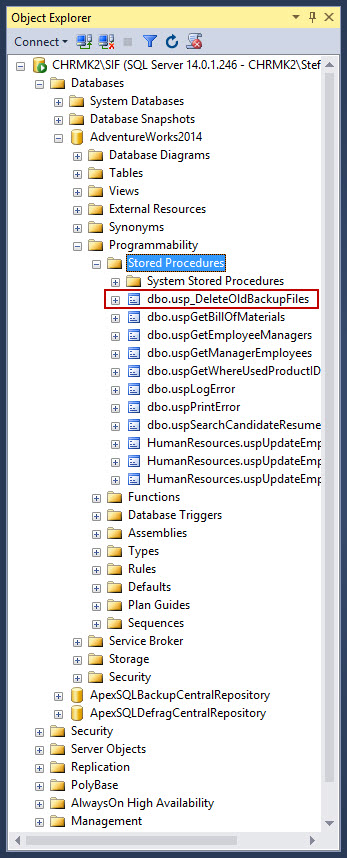
As it can be seen in this query, an extended system stored procedure xp_delete_file is being used. It reads the file header to check what type of file it is and will only delete certain types based on the input parameters we choose. After running the query, we should end up with a stored procedure:
-
After creating the stored procedure, we need to create a scheduled job with SQL Server Agent which will use the stored procedure with our parameters to delete the old backup files.
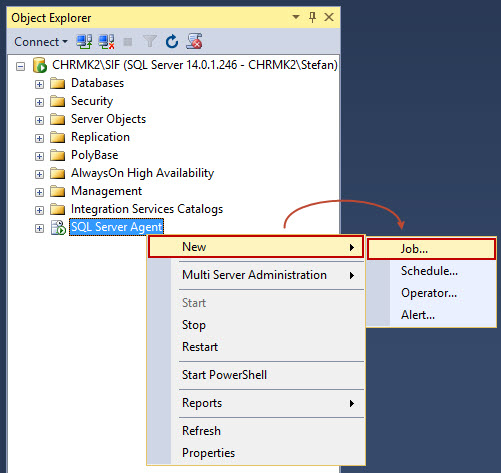
To do that, right click on SQL Server Agent and select New then Job…
-
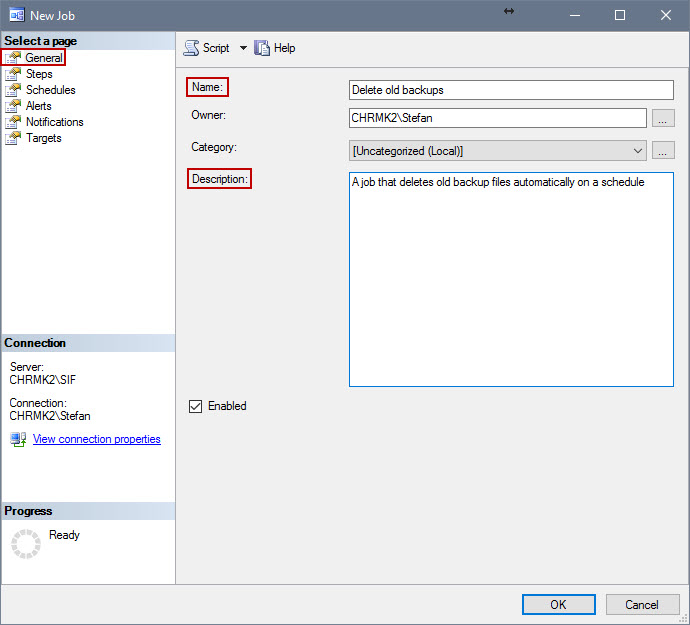
On the General tab, enter a descriptive name and optionally a description for the job:
-

-
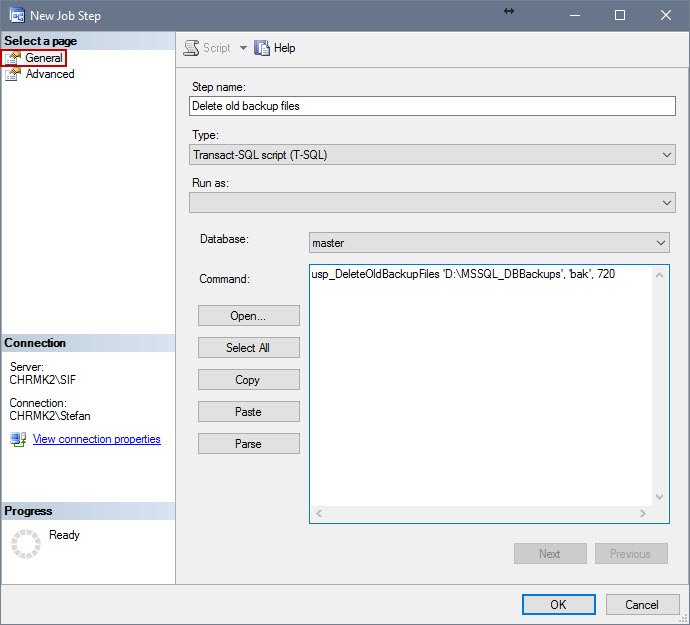
In the New Job Step window, under General tab, enter a descriptive job name, under Database select the database which we want the job to work on and under Command: insert the following line:
usp_DeleteOldBackupFiles ‘D:\MSSQL_DBBackups’, ‘bak’, 720
To explain the line above:
usp_DeleteOldBackupFiles – calls the stored procedure we created earlier
‘D:\MSSQL_DBBackups’ – the first parameter tells the stored procedure where to look
‘bak’ – the second parameter tells what extension or file type to lookNote: for the extension, do not use dot before the extension as the xp_delete_file already takes that into account. ‘.bak’ is incorrect use as opposed to ‘bak’, which is correct use.
720 – the third parameter which tells the stored procedure the number of hours a backup file must be older than to get deleted.
-
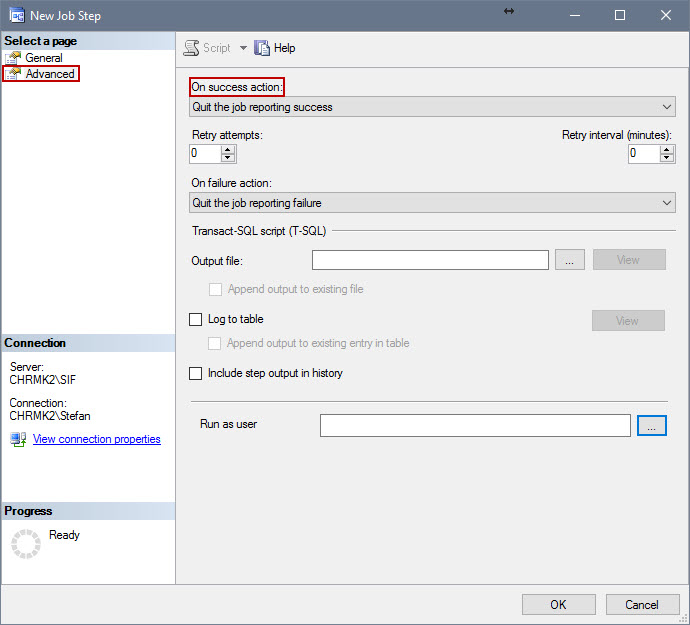
Under Advanced tab, choose what will be done after this step is done successfully. Seeing that this is the only step, we can select ‘Quit the job reporting success’. Here we can also set how many times the step will retry as well as time interval between tries in minutes.
-
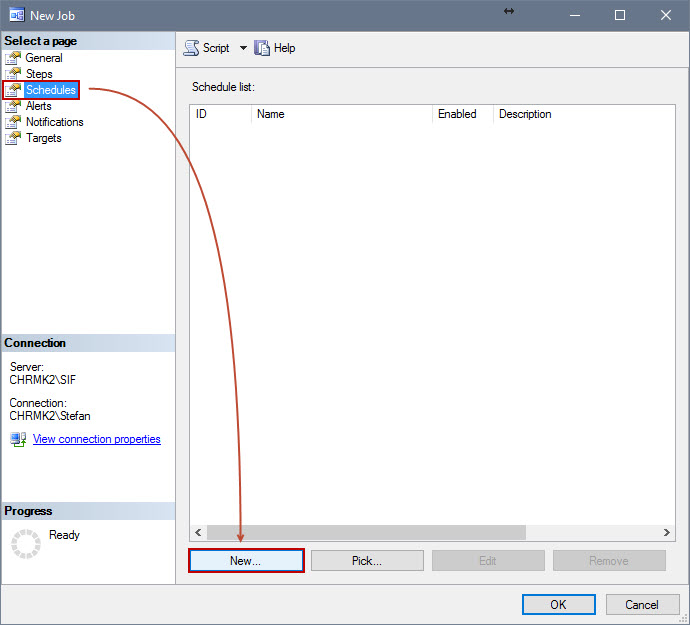
Next tab is Schedules. Under this tab we can set up when will this job work.
Go to New…:
-
In the new window, enter a descriptive name for the schedule. Also, for Schedule Type check that it is set to Recurring for proper scheduled operation. After that, we can set up the schedule using the options below:
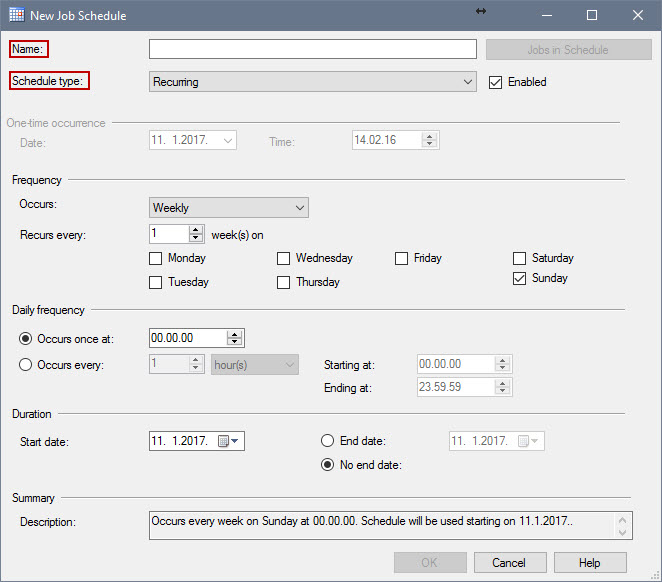
The rest of the tabs is optional in this use case, though, we could use Notifications tab to set up email notifications when the job is completed.
-
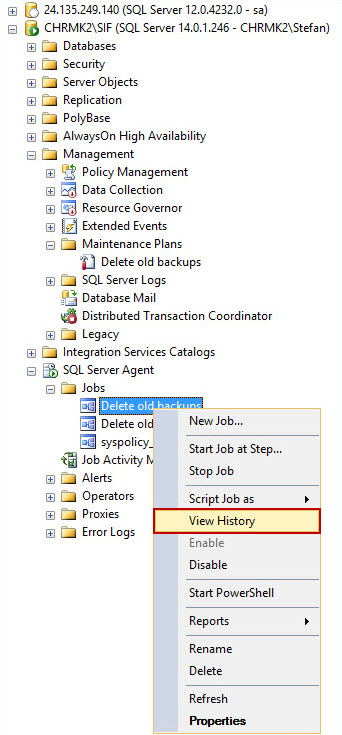
After completing the previous step, our Job is created. It will run according to schedule, deleting old database backup files as set in the job itself. SQL Server Management Studio by default doesn’t show any real-time notifications when the job is performed. If we want to check the job history, we can right click on the job and select View History:
-
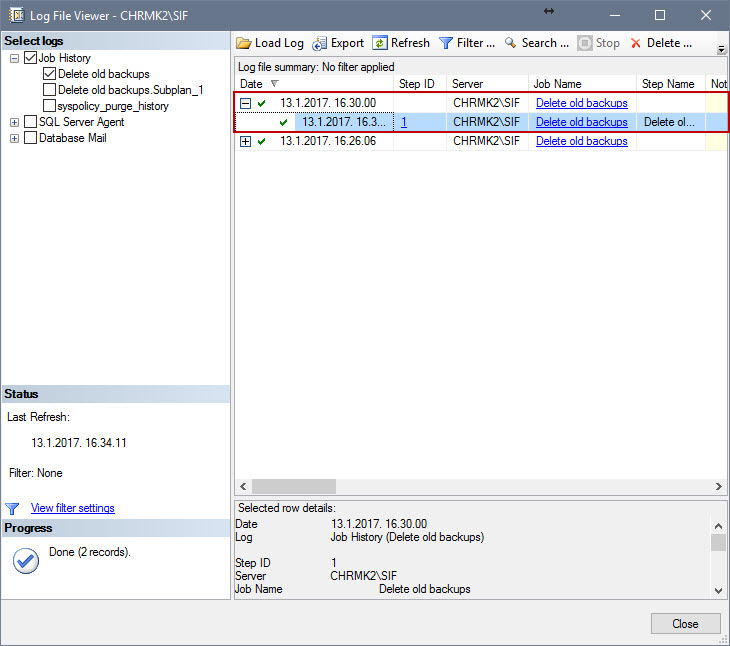
In the new window we can see the history for the selected job which executed successfully:
Delete old database backup files automatically in SQL Server using SQL Server Maintenance plan:
SQL Server Maintenance plans are another way of deleting old backup files by using the cleanup task.
-
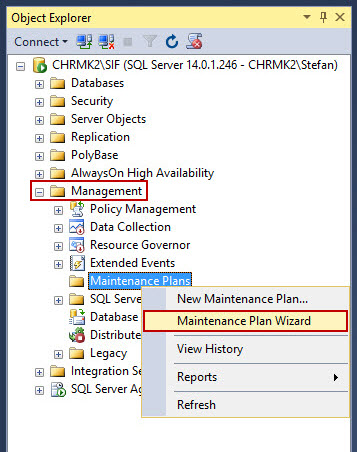
When connected to the server, expand it and the Management folder after. Then right click on Maintenance Plans and click on Maintenance Plan Wizard
-
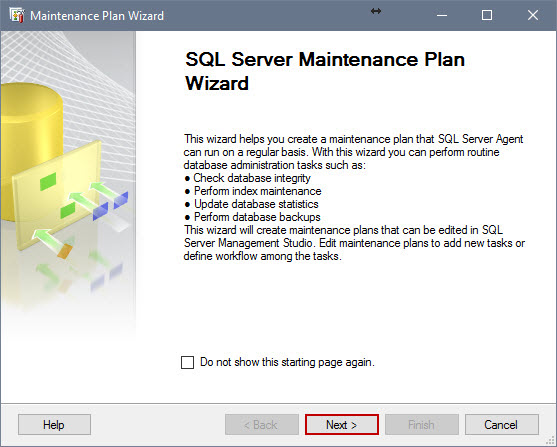
In the Maintenance Plan Wizard, click Next
-
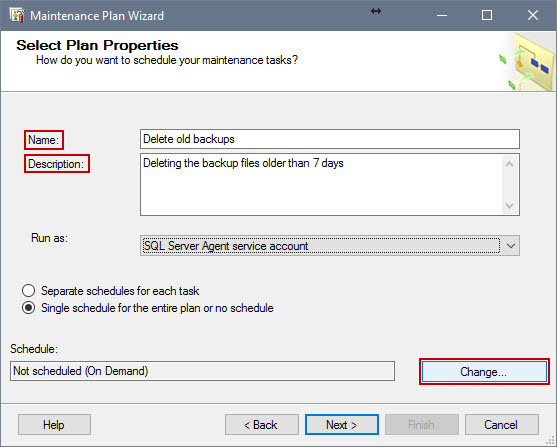
Enter a descriptive name and, optionally, a description, and in the bottom right click on Change…
-
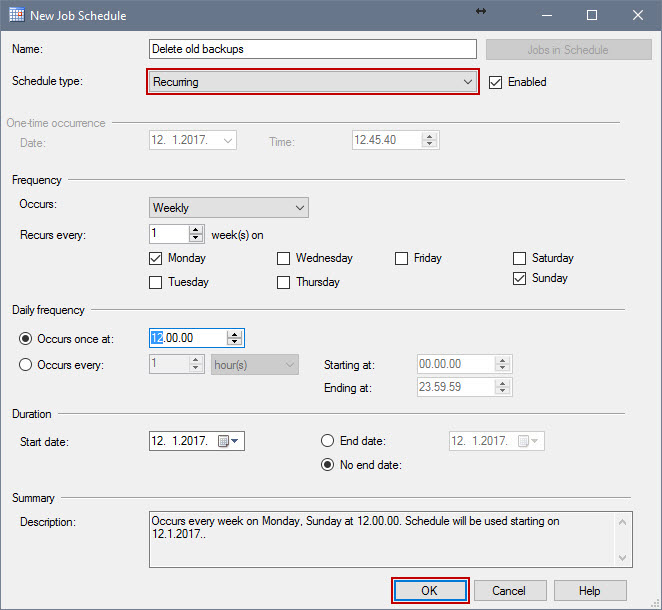
When New Job Schedule window pops up, check if the Schedule type is set to Recurring. After that, we can set up the schedule using the options below. After that, click OK.
-
Check if everything is correct before clicking on Next:

-
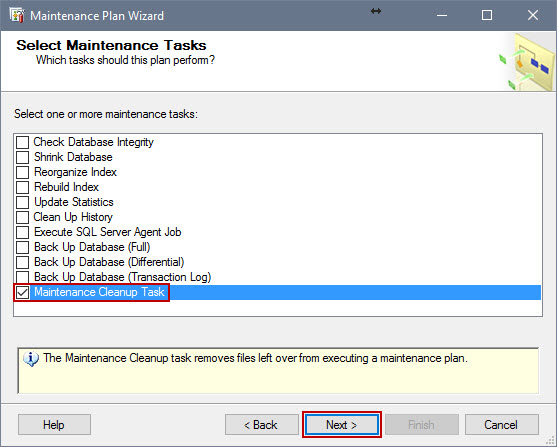
In the next window, check Maintenance Cleanup Task and click on Next:
-
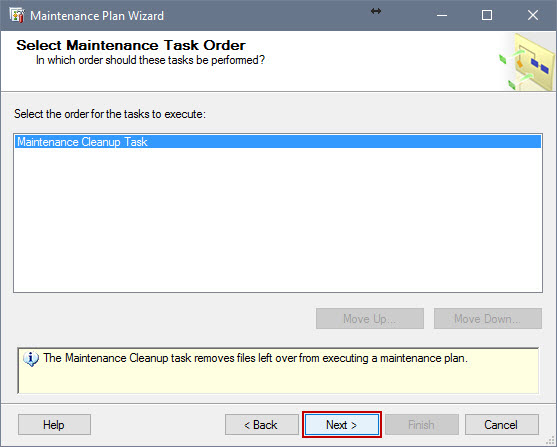
In the following window, because we have only one task, there is no ordering, so we proceed by clicking on Next:
-
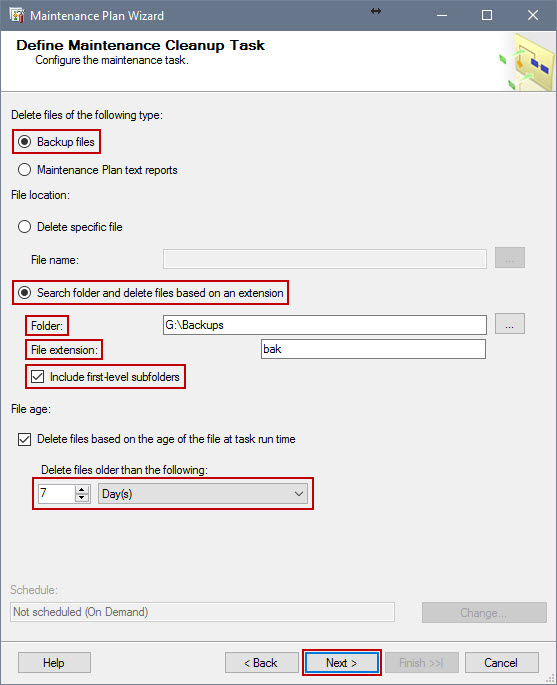
In the following window:
-
Under Delete files of the following type: we select Backup files by clicking on the radio button.
-
Under File location: we select Search folder and delete files based on an extension. Under that, we specify where to search for the folders and what type of an extension to look for. Also, we can check the Include first-level subfolders option if the backups are stored in separate subfolders.
Note: The file extension we input must not contain dot (‘.’) – ‘.bak’ is incorrect, ‘bak’ is correct
-
Under File age: we check the option Delete files based on the age of the file at task run time and specify the age of the files below
After checking that everything is correct, we proceed by clicking Next:
-
-
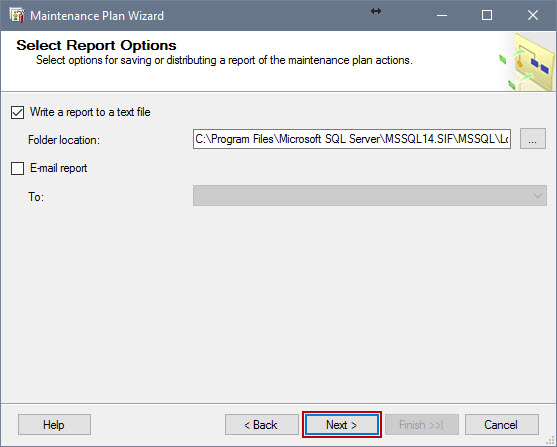
In the next window, we may select that a report is written and/or mailed to the email address we input every time the Maintenance plan runs.
-
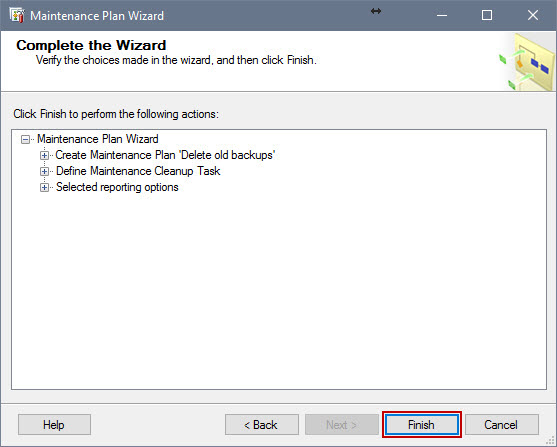
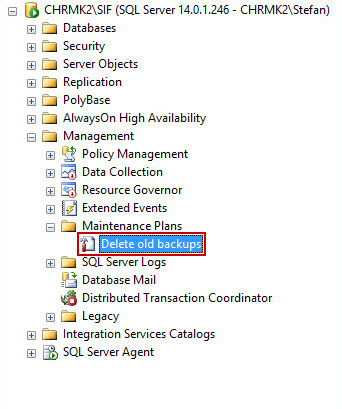
In the next window we press Finish to complete the creation of our Maintenance Plan. After that we can check under Management → Maintenance Plans for our newly created plan:
Downloads
Please download the script(s) associated with this article on our GitHub repository
January 19, 2017


