


Simply archiving information to audit a database is one thing, but successfully reconstructing an audit history to provide meaningful forensic data is another. It is important to be able to see a full history of user changes, as well as to be able to reverse changes that may have been accidental or malicious.
Ideally, such value-added information can be obtained without requiring a prodigious amount of archived data or creating significant performance impact on audited servers.
In this article, we are going to present two different approaches and solutions to before and after auditing.
ApexSQL Audit
ApexSQL Audit is a SQL Server auditing and compliance tool that audits all operations performed on the audited SQL Server instance, including DDL and DML changes, activities related to logins, users, permissions and security.
Even though ApexSQL Audit configures and utilizes traces for auditing SQL Server activities, in order to perform before and after auditing, it utilizes different technology – SQL triggers. The triggers can be applied to capture specific changes made only on selected objects or on all objects in a database. Information can be captured on all DML operations (INSERT, UPDATE and DELETE), and includes details on who made the change and when, which objects were affected, which login, application and host were used, as well as the original (before) value.
Trigger-based auditing works in a simple way – when the change occurs on the audited table/field, the trigger is fired, and it captures the information about the executed operation. All captured information is then stored in the 2 tables that are automatically created in the audited database. This enables easy access directly from application, or from SQL Server Management Studio in order to investigate results or create comprehensive auditing reports.
To setup before and after auditing in ApexSQL Audit, the following steps need to be completed:
- Start ApexSQL Audit GUI
-
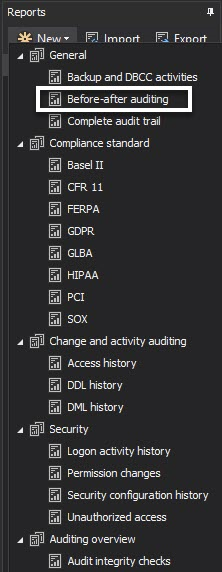
Click on the Before-After button in the main ribbon:

-
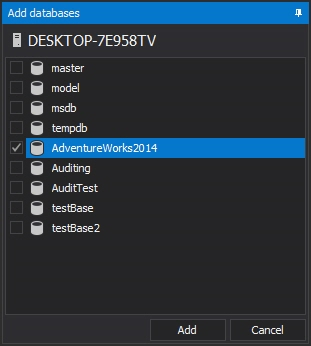
In the Before and after data auditing module, add the database:
-
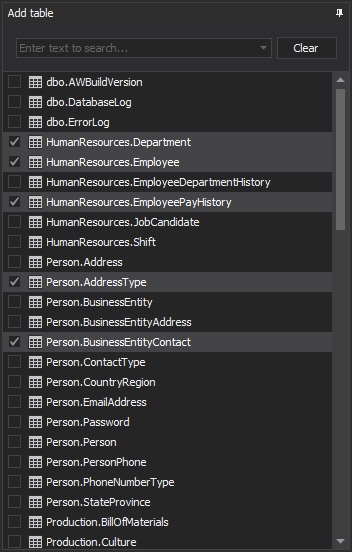
Check the tables to audit with Before-After
-
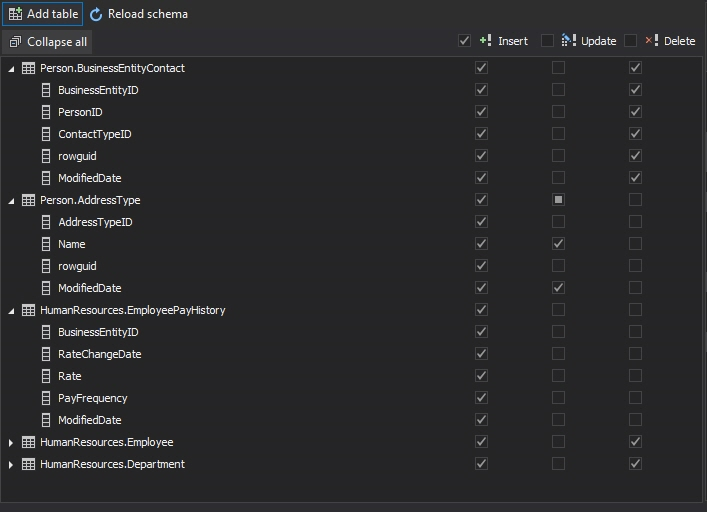
Check the columns to apply triggers to, and specify operations that will activate triggers (INSERT, UPDATE and/or DELETE):
-
Click apply on the yellow ribbon that signals a filter change:

- With this, the before and after auditing has been set up, and any change that occurs will be captured and stored in the central repository.
In order to inspect the before and after changes, one simply needs to create the auditing report. Before we get to that part, let’s look at a typical use case where ApexSQL Audit is used to identify some unusual changes in a particular table.
Case of noticing changes in a sales commission table where commission values have been changed in unauthorized way:
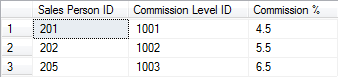
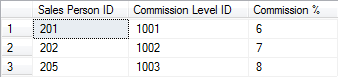
We have a “Sales Transaction” table which consists of 3 columns: 1. Sales Person ID, 2. Commission Level ID and 3. Commission %
Here is how the table looks in its original state
Now, let’s say that commission % were all changed to new values
4.5 –>> 6
5.5 –>> 7
6.5 –>> 8
This malicious change can go unnoticed if database auditing is not performed.
ApexSQL Audit can be used to easily catch this change, and prevent damage.
Since the data history is collected in the central repository, one only needs to read data from it, by creating a standard auditing report.
The most simple way to make a report with Before-After data is to select the template for Before-After from the templates for reporting:
Another way to set up a Before-After report is to make sure that Before-After is selected as a source of events, as well as having at least some DML events selected:

As a bonus feature, it is easy to setup an alert to be triggered when UPDATE changes have been made on some tables. ApexSQL Audit can be instructed to send a warning email when potentially malicious UPDATEs have been performed on specific tables. Here is a step-by-step guide on how to get an alert from ApexSQL audit when a certain record changes in SQL Server database.
Pros
- Integral part of a tool with full auditing capabilities which audits all operations performed on the audited SQL Server instance
- Data is stored in central repository
- Quick and easy setup
- Alerting mechanisms
Cons
- Small performance impact due to implementation of triggers directly into the audited database
- Limited forensic capabilities (missing full row history)
- Missing reroll capabilities
Another solution – ApexSQL Log
Only by reading the SQL Server transaction log, “before and after” functionality can be obtained at no cost to system performance and no requirements for additional data storage/archiving.
ApexSQL Log, a SQL Server transaction reader, provides an ideal, cost effective solution to typical before and after auditing requirements by offering key functional advantages and eliminating the disadvantages of additional bulk storage for before and after auditing. Implemented together with ApexSQL Audit, these tools can provide a full spectrum of auditing coverage, but do it much more efficiently and with an economy of resources.
ApexSQL Log uses a passive technology that simply reads the transaction log vs archiving large volumes of data. So there is no storage requirement or performance degradation to audited systems. But it provides powerful before and after views of data, as well as full row history of changes. Finally, ApexSQL Log has extremely powerful and capable undo/redo capabilities to create scripts to reverse or replay the selected transactions.
ApexSQL Log, since it can be used only when required, on affected servers, doesn’t require licensing to cover every server. Fewer licenses can be purchased, floating licenses and site licenses options are also available to reduce cost per server. Or ApexSQL Log can be bundled, with ApexSQL DBA at a nominal additional cost per SQL Server instance.
Now let’s examine the capabilities of ApexSQL Log’s approach including a) before and after auditing b) row level history c) transaction UNDO and REDO as it related to this particular use case/investigation.
Here is what needs to be done in order to get the before and after auditing data:
-
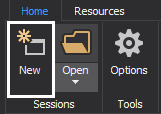
Start ApexSQL Log and click the New button:
-
In the session wizard, provide database connection details and valid credentials, and click the Next button:

-
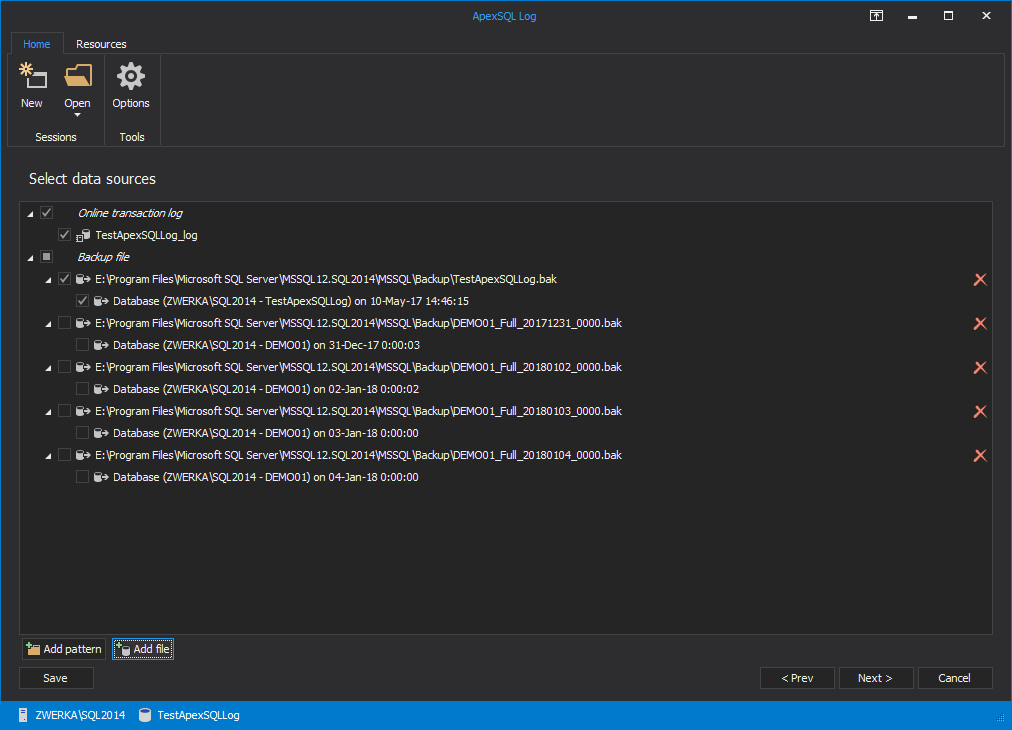
In the Select data sources step of the wizard, add all transaction log backups in order to ensure that full chain of transaction log backups is available. This is essential, since ApexSQL Log needs the full chain to reconstruct row history and before/after details. Click the Next button to advance:
-
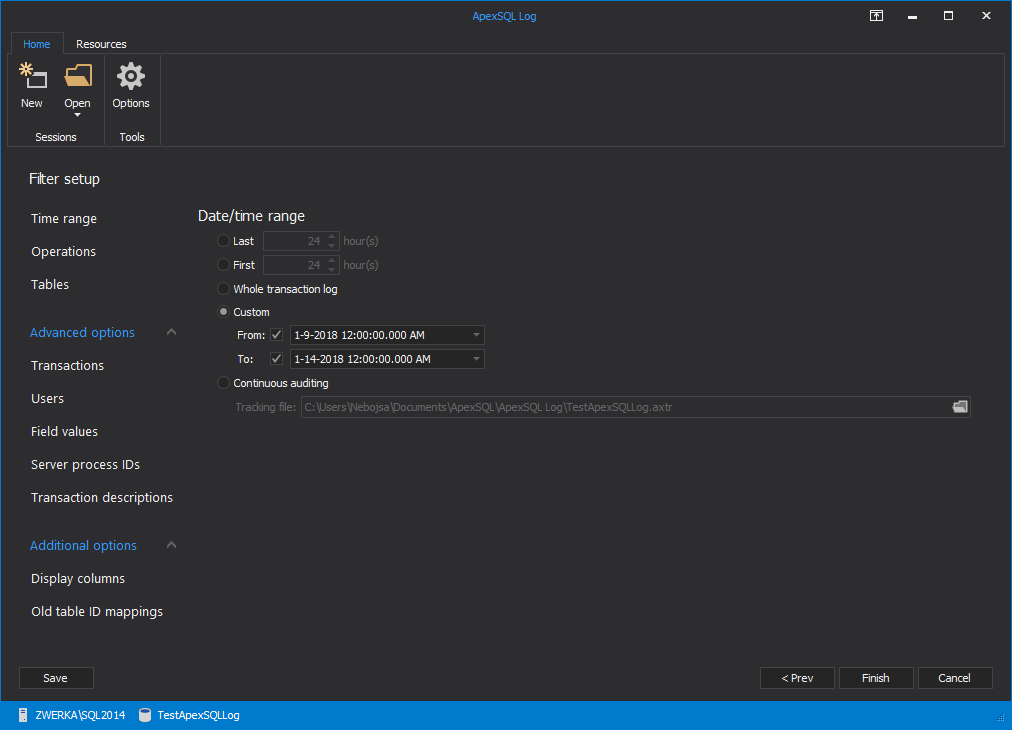
In the Filter setup step of the wizard, use various filters to narrow down the auditing range as much as possible, so specific transactions can be easily located. Providing custom date/time range or selecting only specific table(s) for auditing greatly affects the results, making them easier to explore. After all filters have been added, click the Next button to proceed:
-
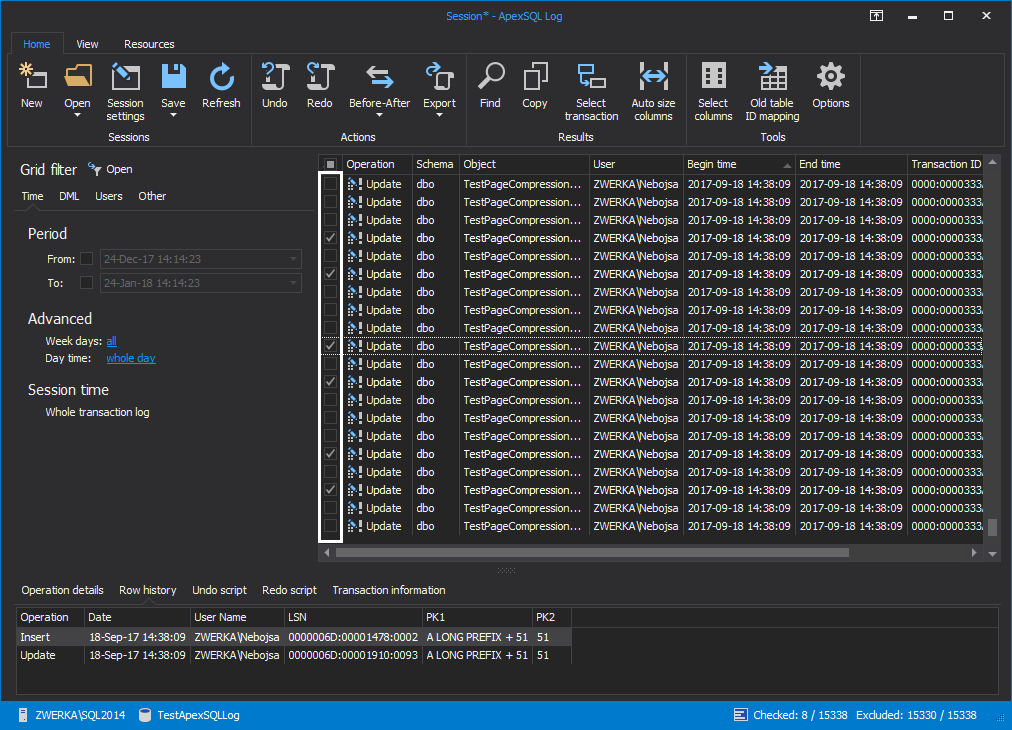
Finally, choose an option to Open results in grid to complete the auditing and display results in a comprehensive grid:

-
Selecting an operation from the grid will display the details in the Operation details panel, at the bottom of the main window. Here, the before (Old) and after (New) values can be seen for the selected operation:

In order to see the full row history, simply select the Row history tab in the bottom panel.

Another great feature of ApexSQL Log allows us to simply reverse these changes. If we decide that they were unwanted, we can simply roll them back with just a few clicks:
-
Select one or more transactions that need to be rolled back and check them in the grid:
-
In the main menu, click the Undo button:

-
ApexSQL Log creates a script that will rollback selected changes to their original state. Created script will be shown and available for additional editing, if needed:
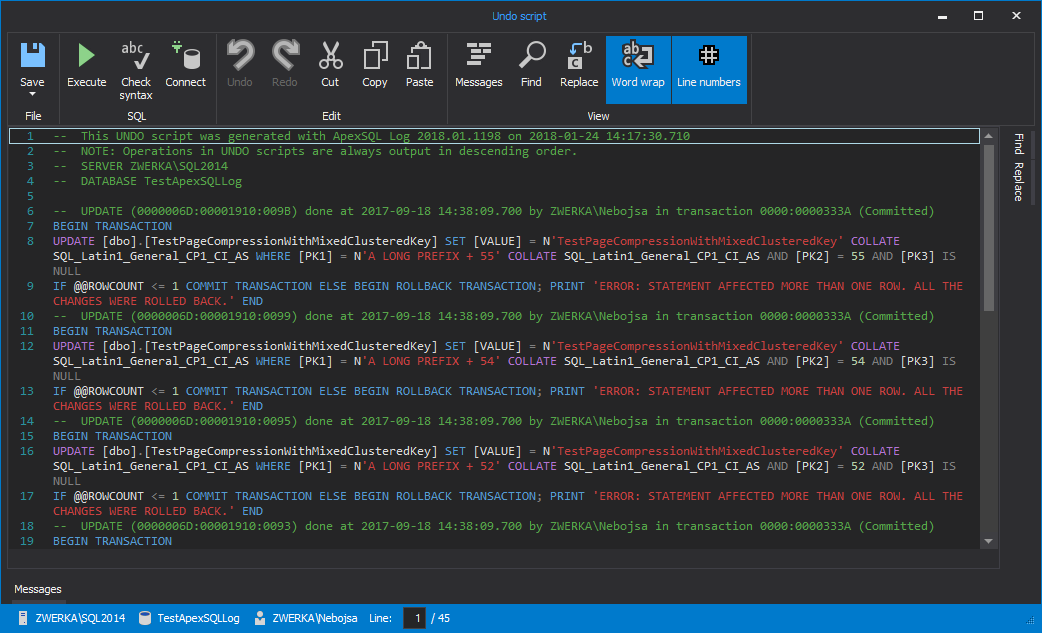
- The only remaining step is to execute this script which can be done directly from the editor, or the script can be saved and executed from SQL Server Management Studio at later time
Pros
- Full row history is available
- ApexSQL Log can audit operations that have occurred even before the application has been installed on the system – if the information is present in the transaction log files, ApexSQL Log can read it
- No performance impact – since ApexSQL Log only reads the transaction log files, it has no impact on the SQL Server that is being audited
- Full recovery capabilities – all malicious or unwanted changes can be rerolled back to their original state with few simple clicks
Cons
- Smaller auditing capabilities then ApexSQL Audit
- Missing alerting mechanisms
- Database has to be in the full recovery mode, and full chain of transaction log files/backups must be available taking disk space on the network
Some ApexSQL Log FAQs
Q: How do I store transaction log data back far enough to do historical before and after?
A: The vast majority of before and after forensic type auditing situations, happen in recent hours, days, weeks. Not months or years. In most cases, this information is already available in the online log. In others, transaction log backups can be chained for historical information going back as far as needed.
Q: Is there any performance impact to before and after auditing with ApexSQL Log?
A: No, there is not. ApexSQL Log has no performance overhead during audit trail capture. The application simply reads the transaction logs to gather audit data. This allows auditing to be performed during low load times or even be offloaded to another server.
Q: How can I configure my system for optimal before and after auditing?
A: In order to ensure that the transaction log file includes all historic data, it is important to have a database in the full recovery mode – this ensures that data within the online transaction log is never overwritten and will be available to ApexSQL Log.
August 11, 2015


