


Challenge
Once a SQL database is committed to a source control repository with all of its objects, the next task is to commit the static data. Static data is non-transactional data from tables that generally don’t change often like postal codes, department names, etc.. Many teams treat this type of data akin to the database structure itself, by versioning it to track changes and deploying it from source control just like database objects. As data is versioned in source control, managing it can be automated as well.
Solution
A 3rd party tool ApexSQL Script will be used in this article to commit static data from a SQL database to the source control repository. In this article, manual commit via the GUI will be covered, as well as automation via the CLI.
ApexSQL Script is a tool that can script all SQL Server objects and data into a single file or to script each object and data as an individual file. It can package scripts into a C# solution or into an executable installer which can be run without installing any additional software. Additionally, it can script and commit SQL Server objects and data to a source control repository using native support for Git, Mercurial, Perforce, Subversion, and Team Foundation Server source control systems. All of these processes can be automated and run unattended using the CLI.
In the following steps, the whole process of committing SQL Server table static data with ApexSQL Script will be explained:
- Prerequisites for committing only static data is that there is a created source control repository on and that tables are already committed to that source control repository. In this example, BitBucket is used as hosting service and Git is used as a source control system
-
Run ApexSQL Script
-
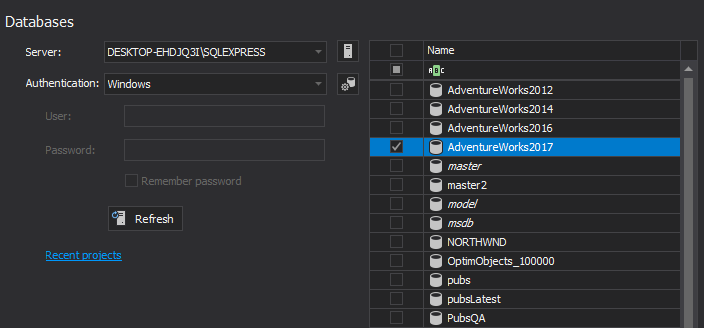
Connect to a desired SQL Server, select a database and click the Load button in the New project window:
-
Once a desired database is loaded and its SQL Server objects are shown, click the Data button from the Home tab, under the View section:

-
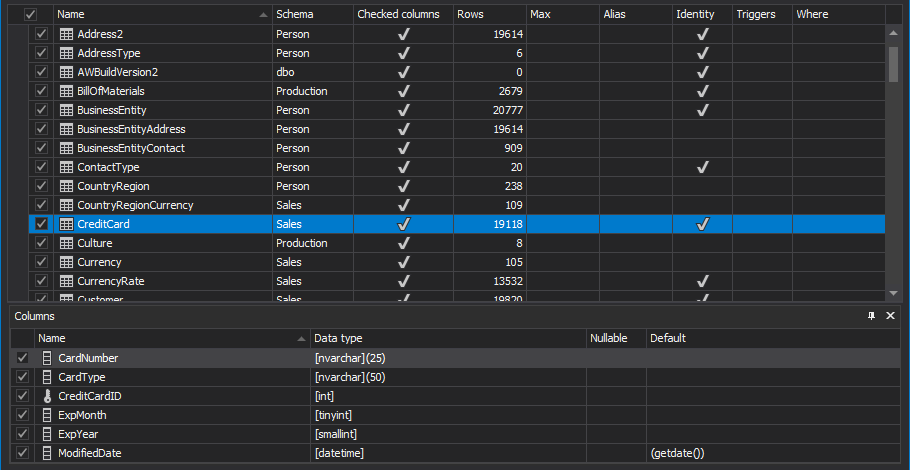
The Data view will be shown, along with the tables and their columns:
In case that not all tables/columns/rows are needed, all of them can be filtered to include/exclude specific ones. Learn more about narrowing the data for object scripting from here
-
Once the desired data is checked, click the Save button to save project:

-
Once the project file is saved, click the Script button from the Home tab to initiate the Script wizard:
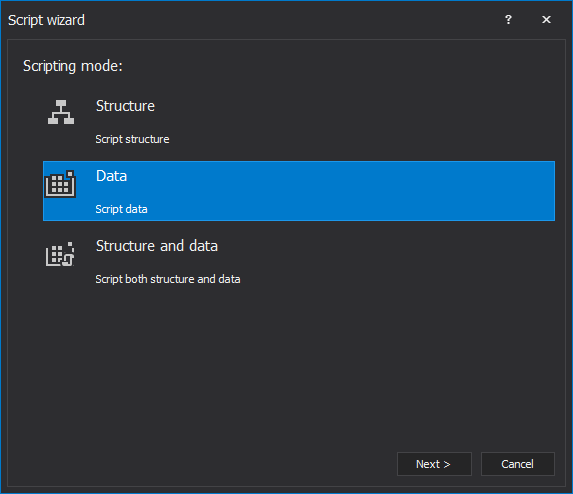
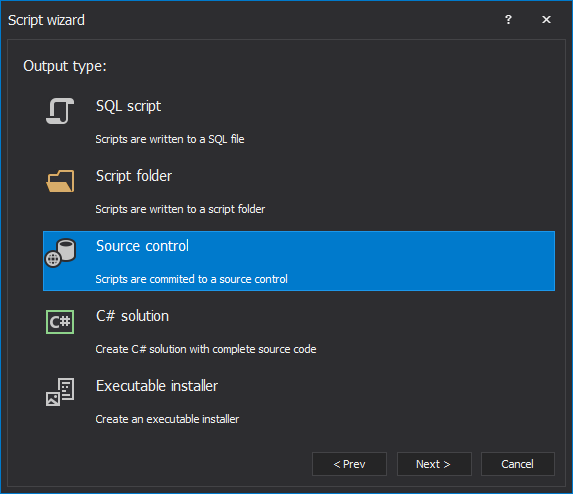
- Choose Data for the Scripting mode and Source control as the Output type, as in the screenshots above
-
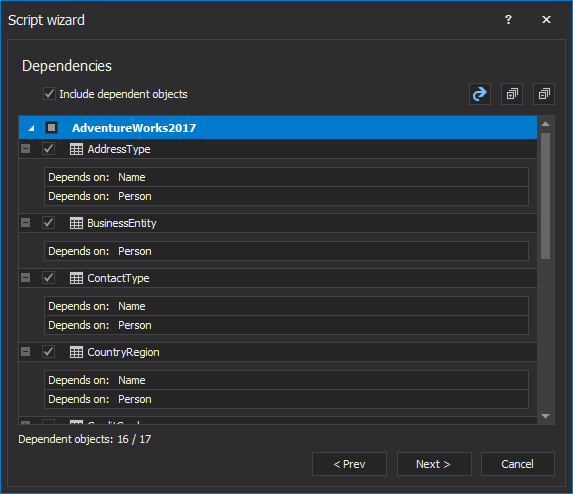
Under the Dependencies step, check whether to include dependent objects or not:
-
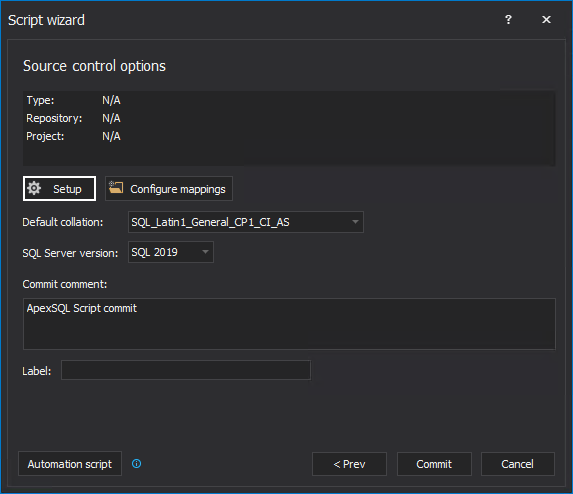
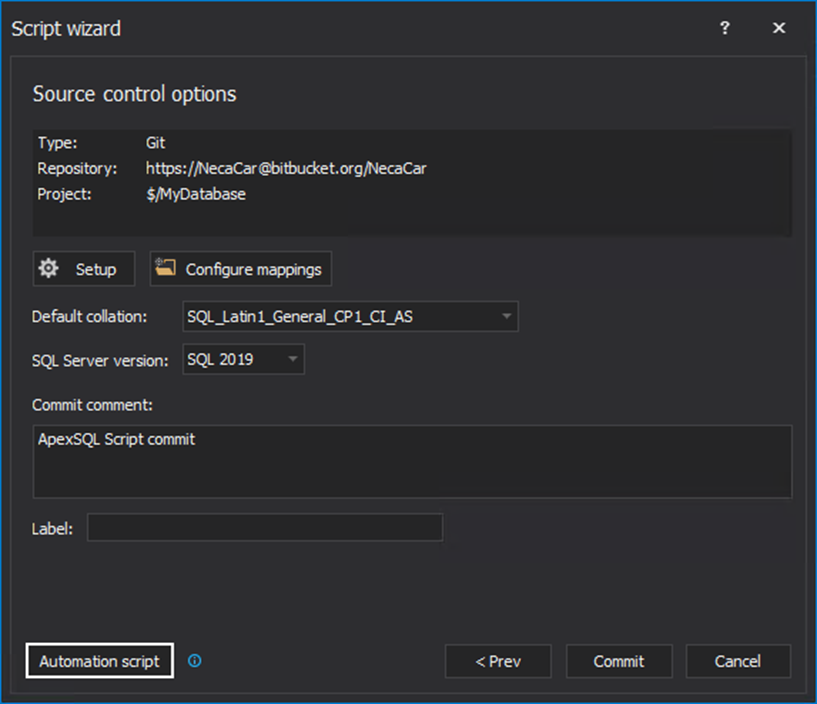
In the Source control options step click the Setup button:
-
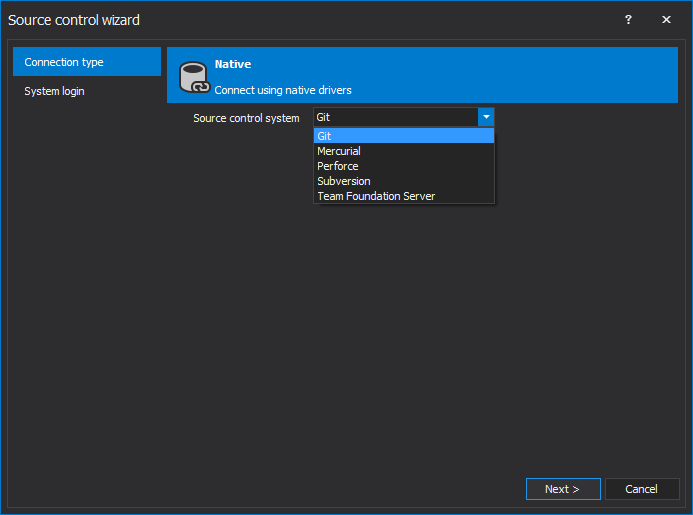
The Source control wizard will be shown and in the first step, choose the source control system. In this example, Git source control system will be selected and the Next button is clicked:
-
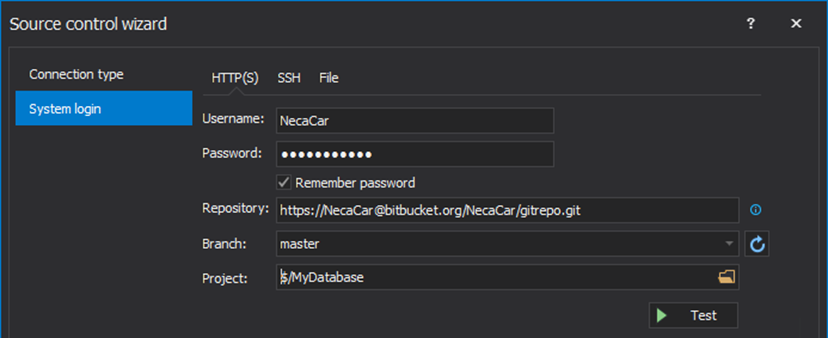
In the following step, source control login information is entered and the Finish button is clicked:
Learn more about setting up the Source control wizard from article on this link
-
Once the Source control wizard is closed, the source control information will be loaded:
-
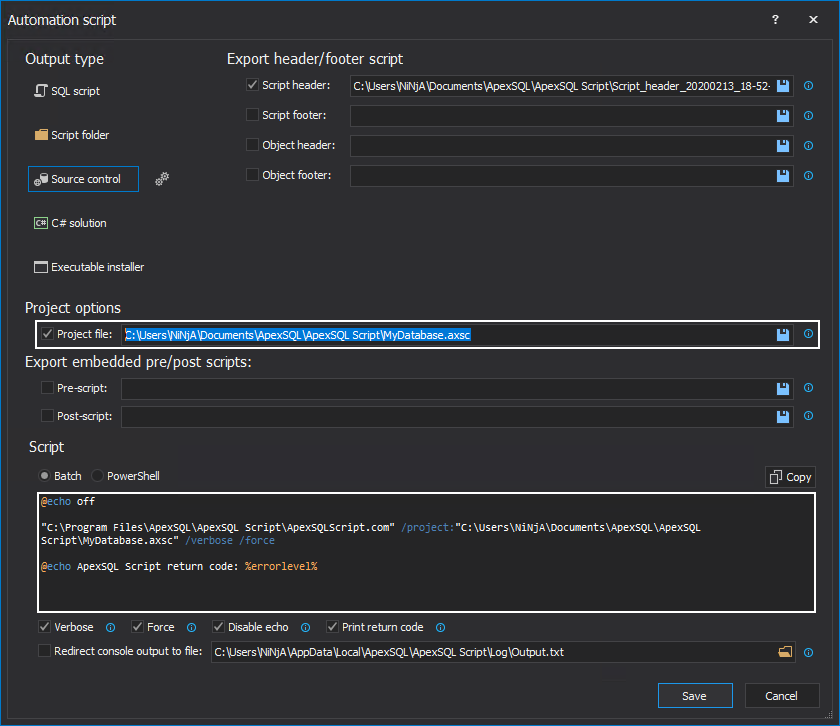
If there is a need to create a batch or PowerShell script, it can be achieved with a click on the Automation script button and the window with the same name will be opened. Once the Automation script window is opened, if the Project file option is checked, all CLI switches will be replaced with the project file switch:
-
Click the Save button, in the bottom-right corner of the same window, so that project file and batch file are saved on the specified location
-
After closing the Automation script window, click the Commit button to initiate the committing to source control repository process
-
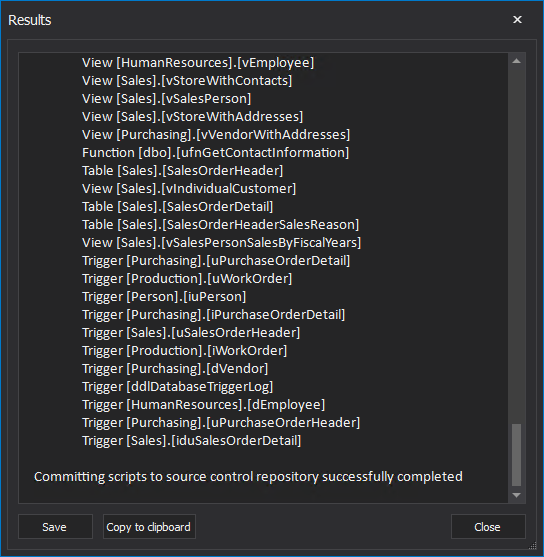
Once the committing process is finished the Results dialog will be shown:
-
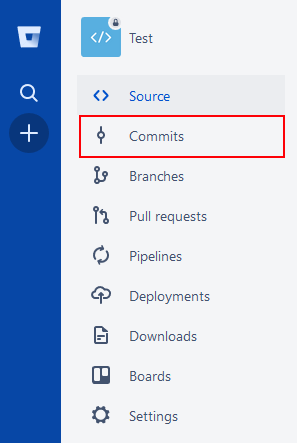
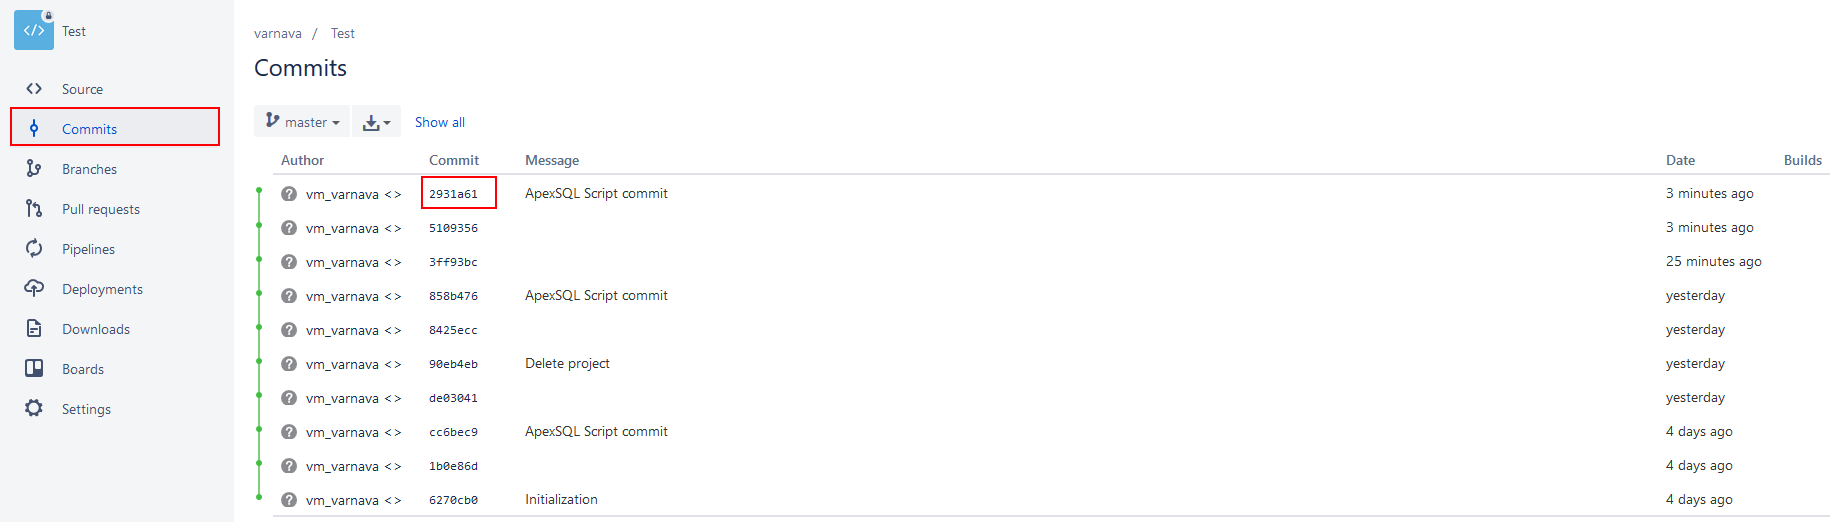
The commit results can be also viewed on the source control repository. As Bitbucket was used as a Git hosting service in this article, connect to previously created repository and click the Commits tab on the left side panel:
-
In the Commits tab, click to view the latest commit:
-
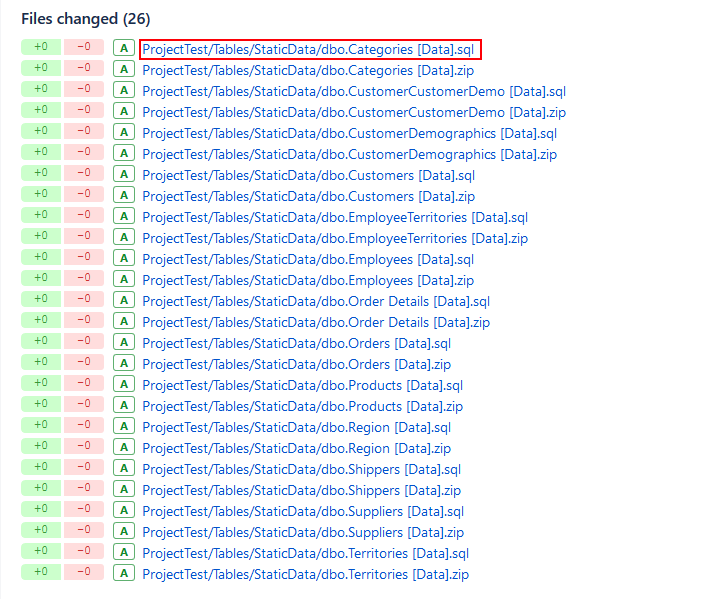
The new window will show all files that were changed during the commit process:
-
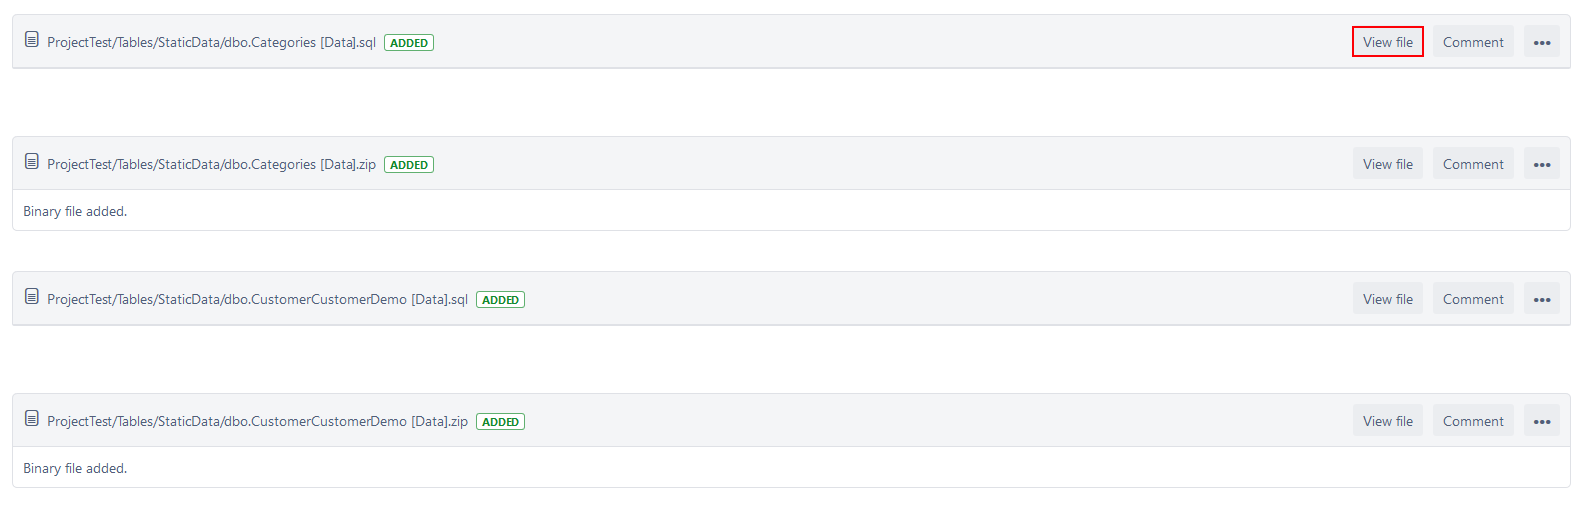
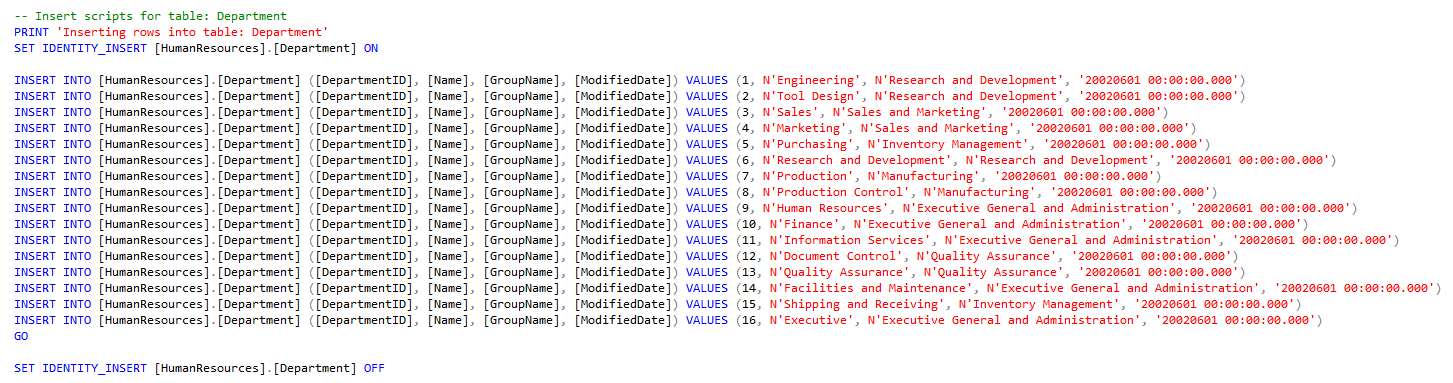
To see SQL script that contains Insert into statement for adding static data to specific table on the source control repository, click on the desired .sql file and it will lead to the selected file which can be viewed with a click on the View file button:
-
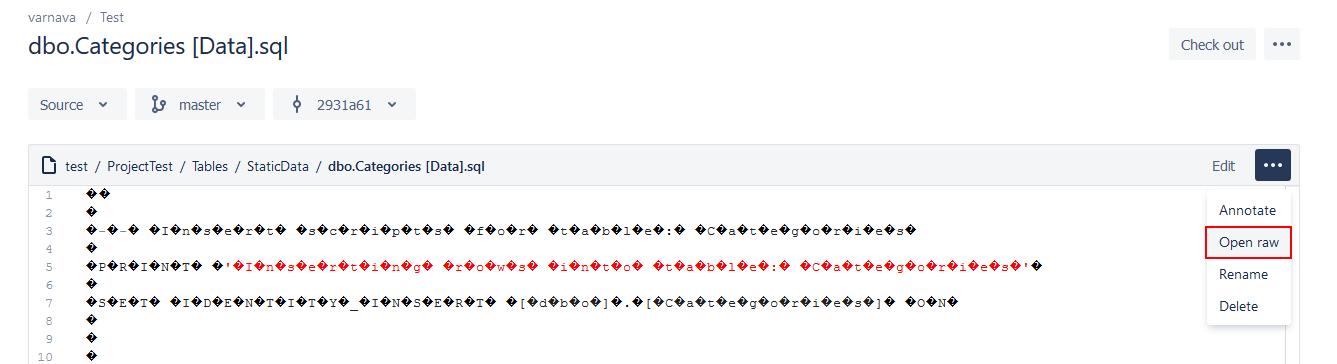
The new window for the selected file will be shown and it can be downloaded to view it with a click on the Open raw button:
-
Once downloaded, it can be viewed in SQL Server Management Studio query window or any text editor:
Automating the static data commit process with ApexSQL Script CLI
The above described process can be automated and run unattended, by scheduling the created batch or PowerShell script with SQL Server Job or using the created project file for scheduling a PowerShell project.
In the following example, creating and scheduling of a PowerShell project using the created project file from ApexSQL Script will be shown:
| Schtasks.exe /Create | # creates a PowerShell task |
| /SC DAILY | # task frequency |
| /ST 00:00 | # start time for a task |
| /ET 05:00 | # end time for a task |
| /TN CommitData | # task name |
| /F | # a value that overwrites the task, if already exists |
| /TR | # path for a task that will be run at the scheduled time |
| “ApexSQLScript” | # application’s path |
| /project:”MyProject.axsc” | # the path of the saved project file |
| /v | # prints all messages in the console |
| /f | # overwrites existing script files |
| /out:”Output.txt” | # redirects console output to a specified file |
| @echo ApexSQL Script return code is %errorlevel% >> /out:”Output.txt” | # return code upon finished commit process |
After running the following PowerShell project, the results will be shown as:
Loading project MyProject.axsc
Set scripting mode: data
Set output type: Source control
Script each object to an individual file
…
Creating script for Table: Customer
Creating script for Table: BusinessEntityAddress
Creating script for Table: ProductReview
Creating script for Table: ProductSubcategory
Creating script for Table: SalesPersonQuotaHistory
Creating script for Table: AddressType
Creating script for Table: ProductInventory
…
Script processing to source control
File(s) checked in to Git
ApexSQL Script return code is 0
If an error is encountered during the commit process, ApexSQL Script will provide an appropriate return error code.
Check out all ApexSQL Script CLI switches in the article on this link, with working examples.
If for any reason, the process needs to be attended and database/source control login credentials need to be entered each time, check out the article on this link on how to allow prompting for login credentials.
October 7, 2016


