


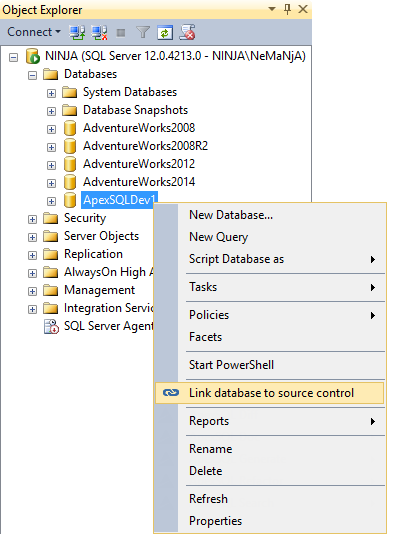
Before proceeding with committing database changes, a database first needs to be linked to the source control repository:
Once the Source control setup wizard is started, the Connection type along with the Source control system needs to be selected and depending on how developers work on a database, a Dedicated or Shared development model can be chosen:
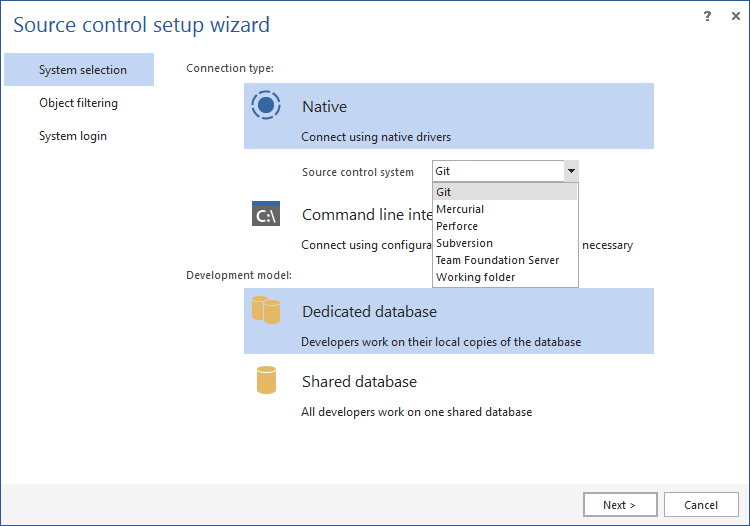
In this example, Git was used as a source control type and the Dedicated development model was chosen.
The next step in the Source control setup wizard is to perform Object filtering, if there is a need to exclude specific objects from linking to source control repository:

Learn more about object filtering from here.
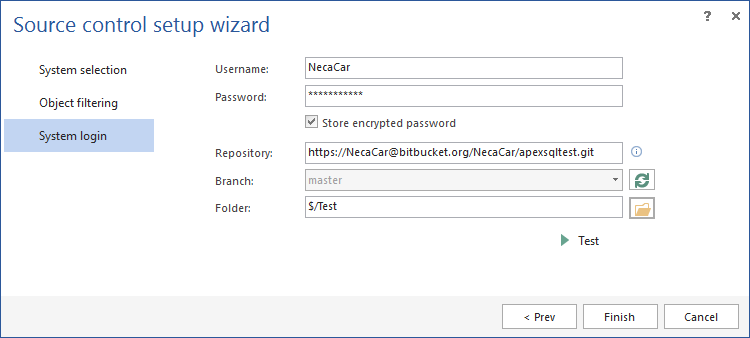
The final step in linking database to source control repository is to provide login information along with some information specific to a chosen source control system:
More about linking database to the source control system can be found here.
A linked database to source control repository is a prerequisite for the first Commit step in CI workflow.
ApexSQL Source Control can commit to source control repository:
-
All SQL database objects
-
Newly added SQL database objects (as well as changing existing ones)
Additionally, ApexSQL Source Control can create labels, which is particularly helpful when occasional changes are made and there is a need to have a “last working” database state. Basically, labels are snapshots of the current state in the source control repository. Labels can be quite handy in this “poor man’s” CI workflow.
-
Committing all SQL database objects
If the source control repository is a newly created (empty) one and once everything was set in the Source control setup wizard and the Finish button is clicked in the last step, ApexSQL Source Control will compare the database with the source control repository and all differences will be shown in the Action center window:
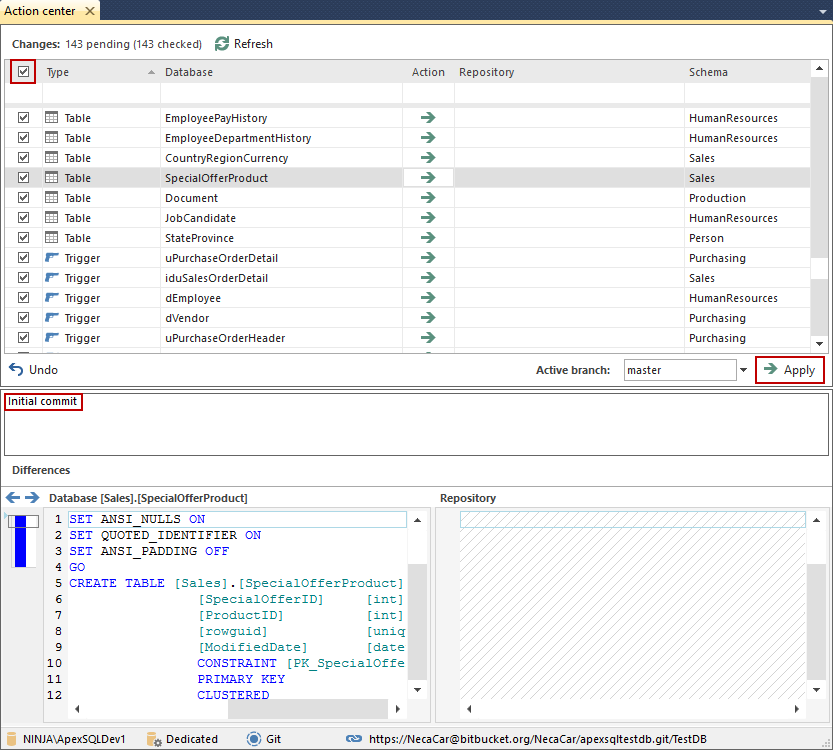
To commit all objects from a database, click the Check button in the top-left corner of the Action center window, which will select all objects for committing.
The commit comment needs to be provided in the field below the object list, before the commit process is started. In this example, the provided comment is Initial commit, as this is the first one in this newly created repository.
Now, when everything is set, click the Apply button and all database objects will be committed to the specified source control repository. Once all objects are committed, ApexSQL Source Control will re-compare a database with the source control repository and if everything is successfully committed, the following message will be shown:
Creating a label
As this is the initial database version that was committed, a label can be created for the current state of the source control repository. If any changes after the initial commit jeopardize the database stability, developers can easily revert to created label.
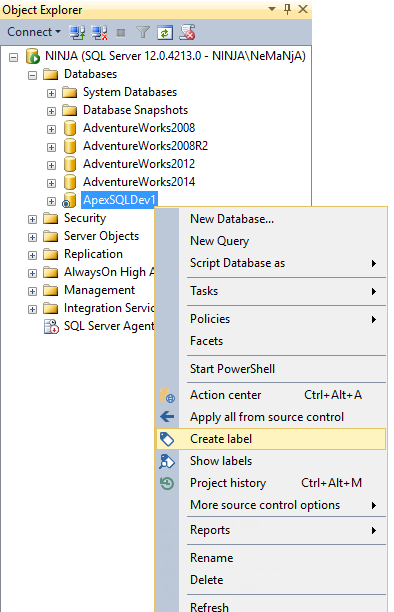
In order to create a label, right-click the linked database in Object Explorer -> Create label
The New label window will be shown, where label name and comment should be provided:
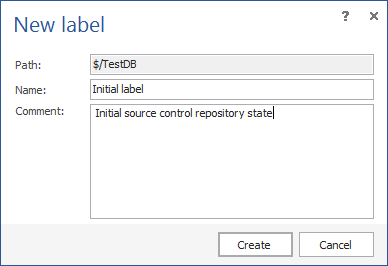
When the required information is entered, click the Create button to add this initial label:
In this way, all SQL database objects were committed to the source control repository and a label (snapshot) of that source control repository state was created.
-
Committing newly added SQL objects and changing the existing ones
Since a previously used database is synced with the source control repository, let’s make a few changes in order to simulate the first step in CI workflow.
In the following example, a few changes are made on a database: the new Customer table is created, the old SalesOrderHeaderSalesReason table is deleted, and a new Country column is added to the CustomerAddress table.
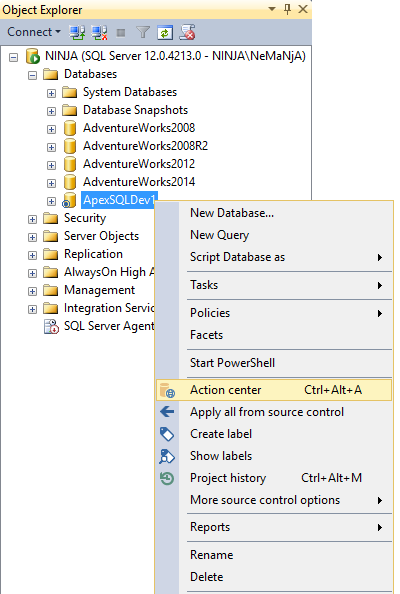
Once the changes are made, right-click the local database in Object Explorer -> Action center:
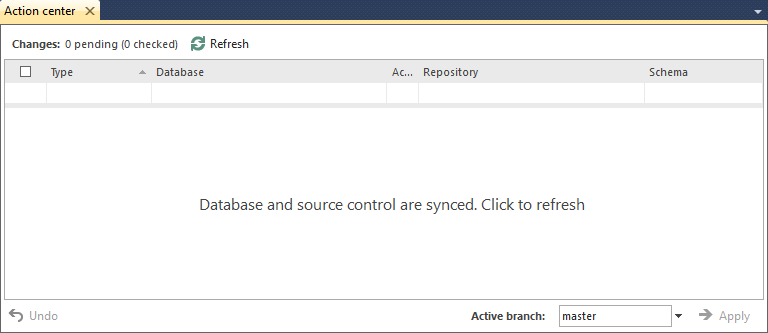
ApexSQL Source Control will again compare the local database and the source control repository, and changes will be shown in the Action center window:
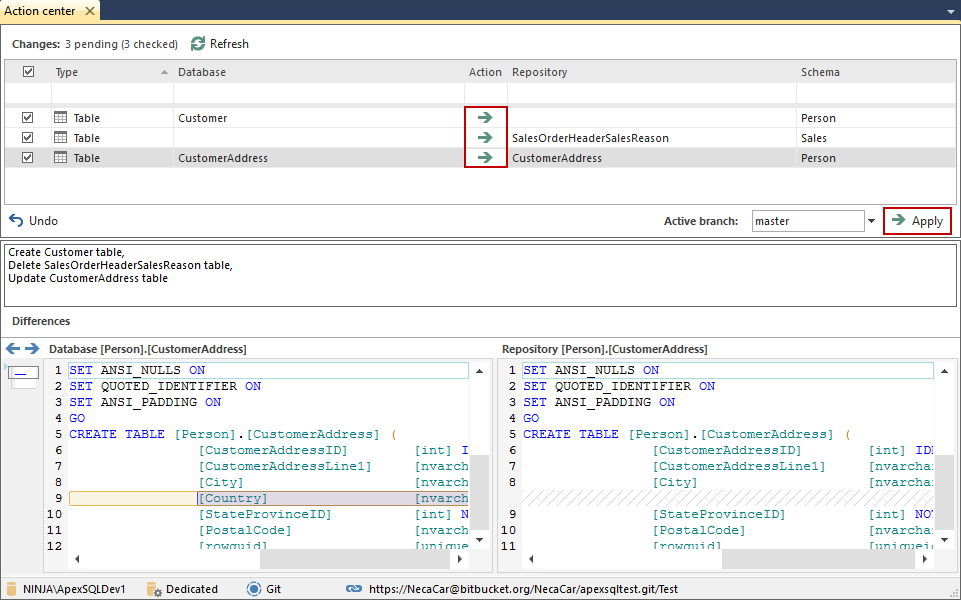
The Action column shows the action directions and what will be done, when the Apply button is clicked.
In this case, the newly created Customer table will be committed to the source control repository, the old SalesOrderHeaderSalesReason table will be deleted from the source control repository, and a new Country column will be added to the existing CustomerAddress table in the source control repository.
After providing a commit comment “Create Customer table, Delete SalesOrderHeaderSalesReason table, Update CustomerAddress table” and clicking the Apply button, ApexSQL Source Control will initiate the committing process and once it’s finished the Action center will provide an information that database and source control are synced.
Additionally, a label can be created for the current state of the source control repository, since these changes are applied. The process for creating a label is the same as above and this one will be named: Changes_1.0.
Reviewing and reverting labels
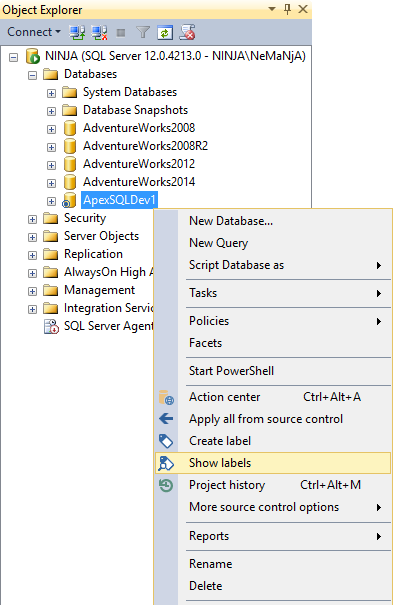
Created labels can be reviewed and reverted to a specific one if needed. In order to review them, right-click the local database in Object Explorer -> Show labels:
The Labels window will be shown, containing all created labels. In this case, previously 2 created labels are shown:
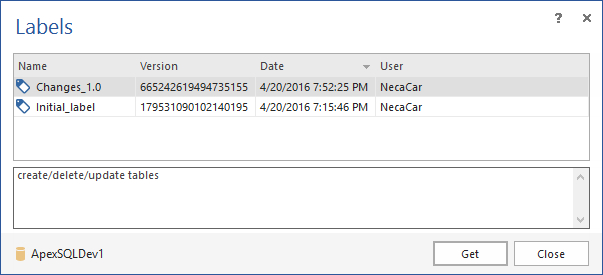
If some issues occurred in the specific commit, just select the previously working label and click the Get button. After getting the selected label, ApexSQL Source Control will show the Apply label window:

In this window, sequences for applying the label will be shown, along with the execution script, and potential warnings. If everything is fine, click the Apply button. The selected label will be applied to the source control repository and if everything is processed successfully, the following message will be shown:
Also, the Action center window will be initiated along with the re-comparison of a database and source control repository.
Useful links:
January 13, 2017


