


This article will explain how to export SQL Server data to a CSV file type. CSV represents a file format where plain text values are separated by a delimiter, usually comma symbol (Comma-Separated Values). It is one of the most common format types for any spreadsheet program. CSV files are easy to organize and edit, and can be used by many different business software programs for data analysis. Large amounts of data can be better organized with CSV files, and those files can be easily edited and created by different spreadsheet applications.
There are several ways to export data from SQL Server to CSV file type, and this article will explain two methods how this can be done. The export SQL Server data to CSV file type could be done by using next features or tools:
- SQL Server Import and Export Wizard
- ApexSQL Pump
Export SQL Server data to CSV by using the SQL Server Import and Export Wizard
The SQL Server Import and Export Wizard is tool that makes it easier to export and import data to and from SQL Server. There are two ways in which this tool can be opened:
- Through SQL Server Management Studio
- Through the Start menu
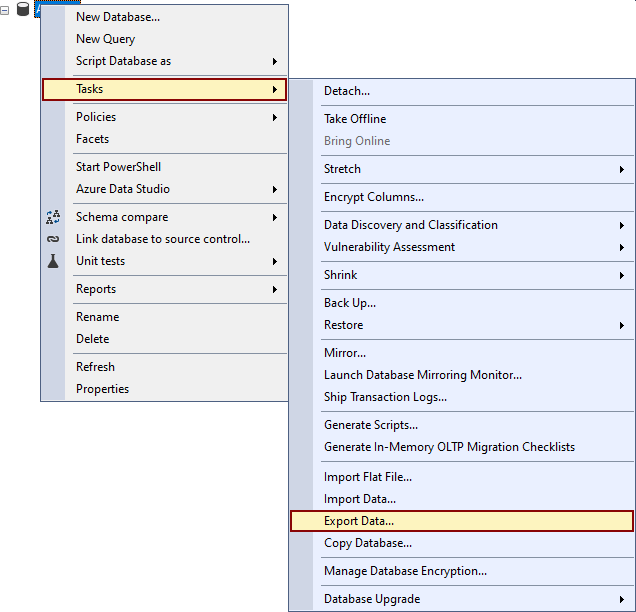
The export SQL Server data example in this article will be processed by starting the SQL Server Import and Export Wizard from the SQL Server Management Studio. When SQL Server Management Studio is opened and connected to the desired SQL Server instance, in the Object Explorer select a database and right-click on it to show the context menu. From the menu choose the Tasks option to expand it and from its submenu select the Export data option:
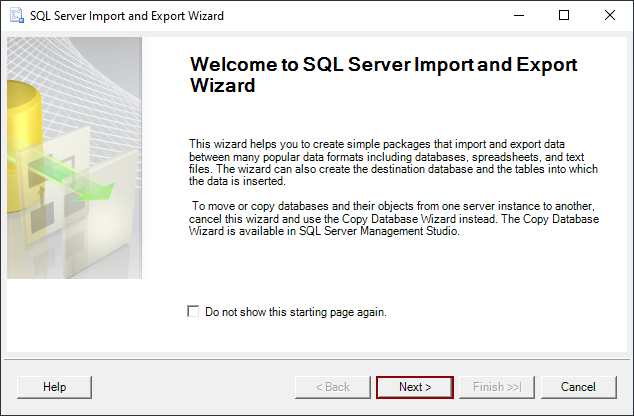
The SQL Server Import and Export Wizard window will appear with the Welcome to SQL Server Import and Export Wizard message presented when this tool is started. This is the first step to export SQL Server data through this wizard, and it contains information about what this wizard can do. Click the Next button to start the process of exporting data:
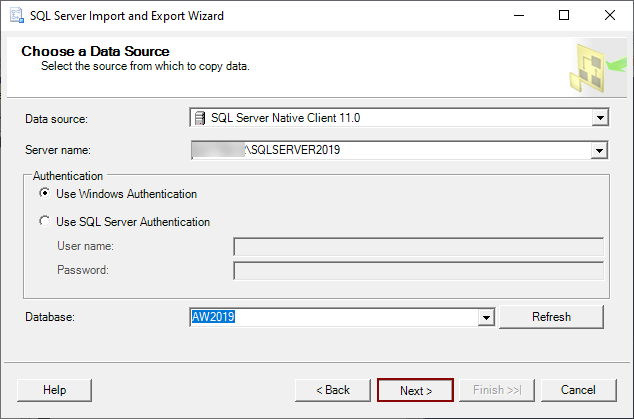
The Choose a data source will appear as the next step. From the Data source drop-down box the data source type should be selected and the rest of the control layout will be changed accordingly. If data needs to be exported from the SQL Server, the SQL Server Native client item should be selected. The SQL Server Instance and database that were selected in the Object Explorer will be displayed automatically in the appropriate fields, and by clicking the Next button the SQL Server Import and Export wizard will go to the next step of export SQL Server data:
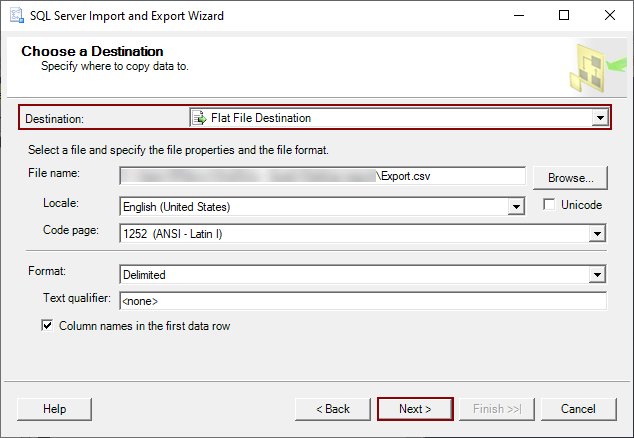
The next step of exporting data is the Choose a Destination step, in which the location where the data from SQL Server will be copied can be selected. If data from SQL Server is exported to text or CSV file types, from the Destination dropbox, the Flat File Destination should be chosen. The Flat File Destination option writes data to text or CSV file. After the Flat File destination is picked, from the section below click on the Browse button, and select or create a file and file type in which the SQL Server data will be exported. For this article the Export.csv file will be created. In the section below, the regional based formatting, like date and time, can be customized using the Locale drop-list. From the Code page drop-list, the character coding table can be set for non-Unicode text. In the Format drop-down box is selection for the columns formatting that will be exported in the destination file. When this is set click the Next button:
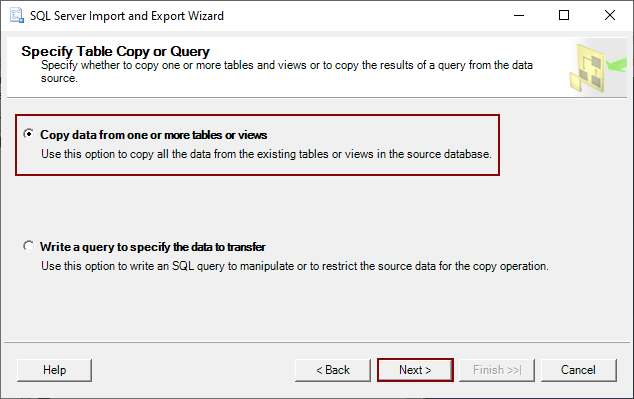
The Specify Table Copy or Query is the next step of the export SQL Server data wizard, where the Copy data from one or more tables or views or the Write a query to specify the data to transfer option can be chosen. The Copy data from one or more tables or views option will be picked for this purpose. Click the Next button to process to the next step of this wizard:
The Configure Flat File Destination is the next step that is appeared in this wizard. In this step, the table or view for exporting data can be selected from the Source table or view drop-list. For this article dbo.Employe table will be used. To see the data that will be exported to CSV file click on the Preview button to open the Preview Data window:
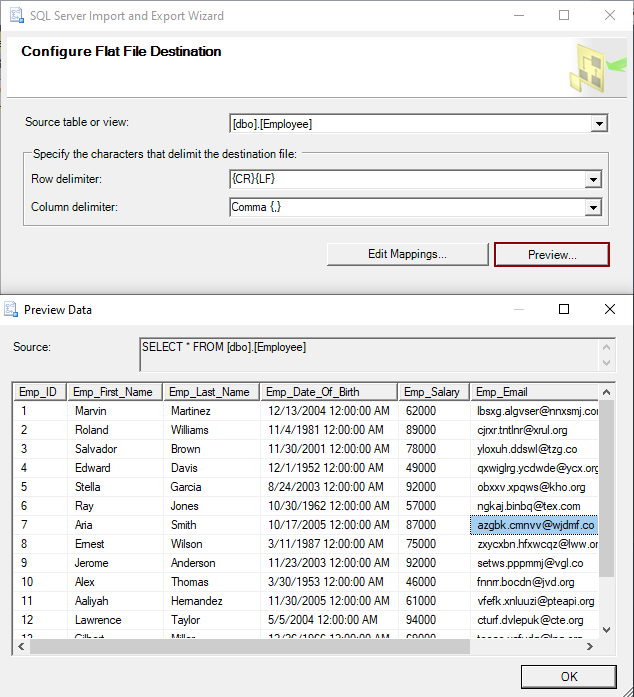
In this step specifying the characters that separates the data (delimiter) in the destination file can be done by using:
- Row delimiter dropbox – where it is possible to select what each row in a destination file will end with
- Column delimiter dropbox – where the delimiter which separates columns of data can be chosen for each row

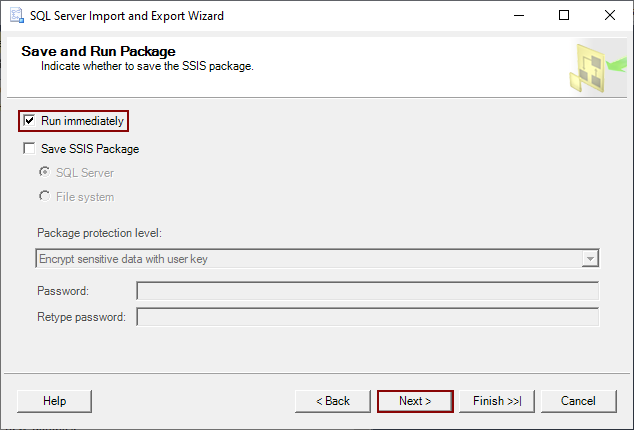
When all is checked and set, click on the Next button and it will change the view to the Save and Run Package step. In this step, it is possible to choose whether the data from a SQL Server database will be exported to a Flat file immediately by checking the Run immediately option or to save the copied data as SSIS package by checking the Save SSIS package check box. The Run immediately option should be chosen to continue with export. The SQL Server Import and Export Wizard offers the possibility to finish the whole process by clicking the Finish button or to proceed to review step by clicking the Next button:
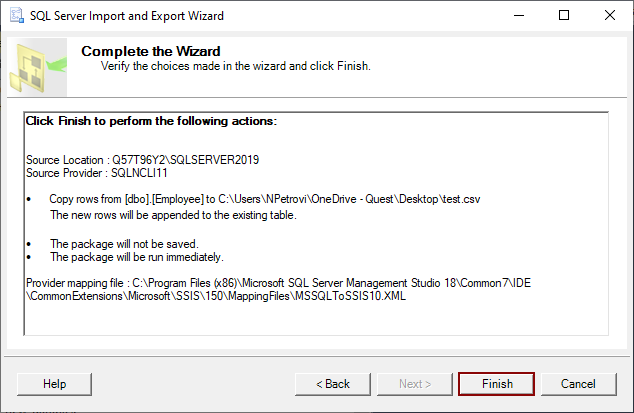
The Complete the Wizard is the last step in which decisions that were made in the wizard can be verified. When all is verified, click the Finish button to complete the process:
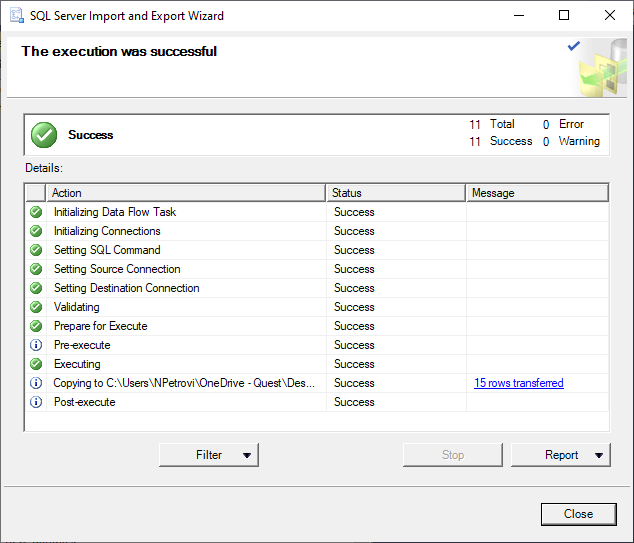
After that, the last step will be presented which will show progress and status information about the export SQL Server data process. The screenshot below demonstrates that the process was finished successfully:
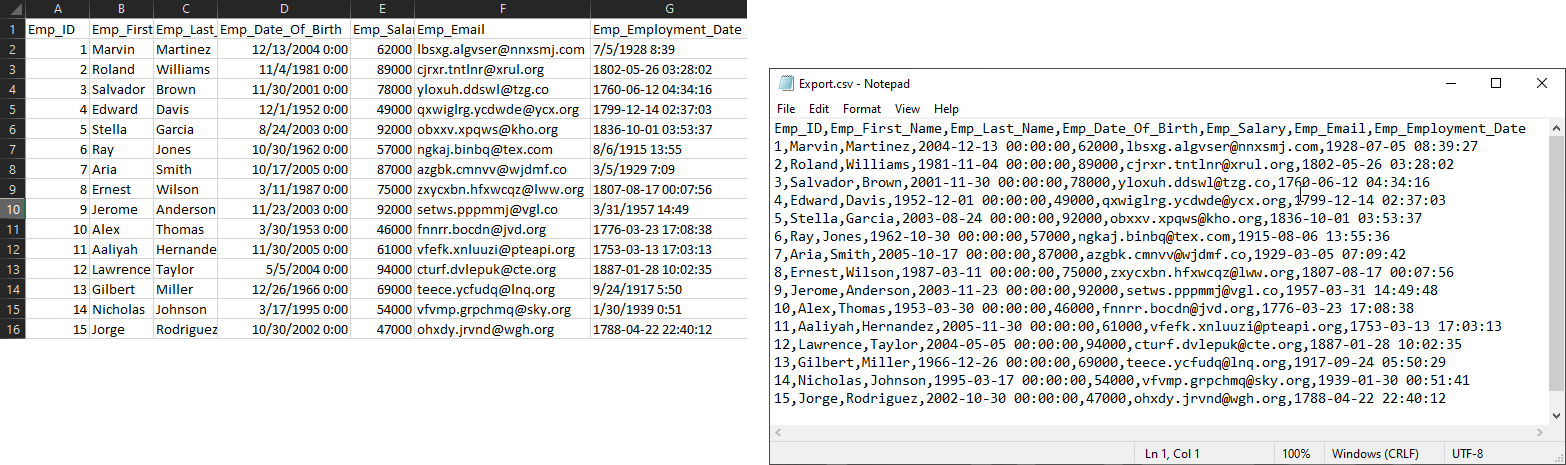
And the exported SQL Server data in the CSV file type in Excel and Notepad will look like this:
Export SQL Server data to CSV by using the ApexSQL Pump
ApexSQL Pump a standalone tool that provides easy import and export SQL Server data to various file types. It is very easy wizard based application and the CSV file type is one of 13 file types in can SQL Server data can be exported by using the ApexSQL Pump. The ApexSQL Pump makes data exporting easier, and more customizable with fewer steps. In addition, ApexSQL Pump can export the data from more than one table or view at once.
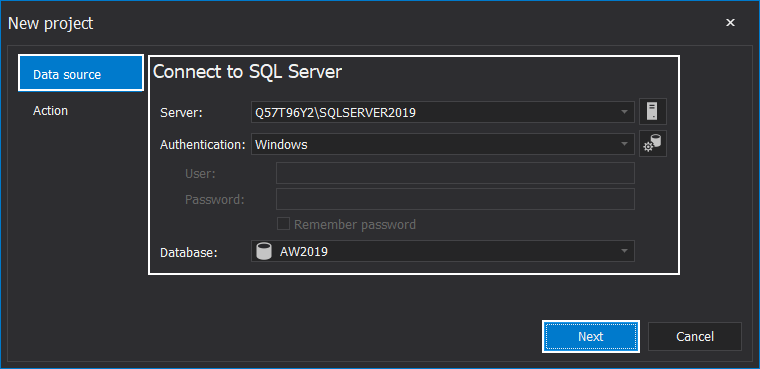
At the opening of ApexSQL Pump, the New project window will be presented and the Data source tab shown by default. This is where connection to desired SQL Server and database should be defined. Select the instance of SQL Server, type of Authentication, and the Database to insert data or extract data from. When this is set click the Next button:
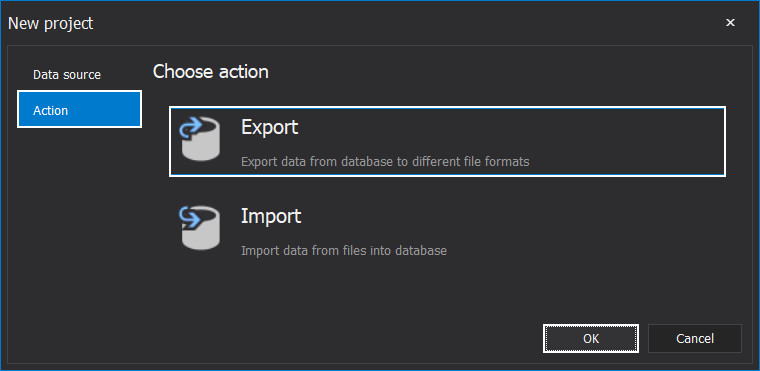
The view will switch to the Action tab where we can choose between Export and Import action. When the right action is selected, in this case the Export option,, click on the OK button to proceed further:
The main window of ApexSQL Pump will be shown, where in the main grid will be listed all tables and views from the desired database. The process to export SQL Server data will start by selecting the table from which we want to export data to CSV file type. By ticking the check box in front of the name of a column in the main grid a custom set of columns can be chosen for data extraction. For this article dbo.Employee table will be chosen . When the table is selected the Preview pane on the left can show what data and how it will be exported:
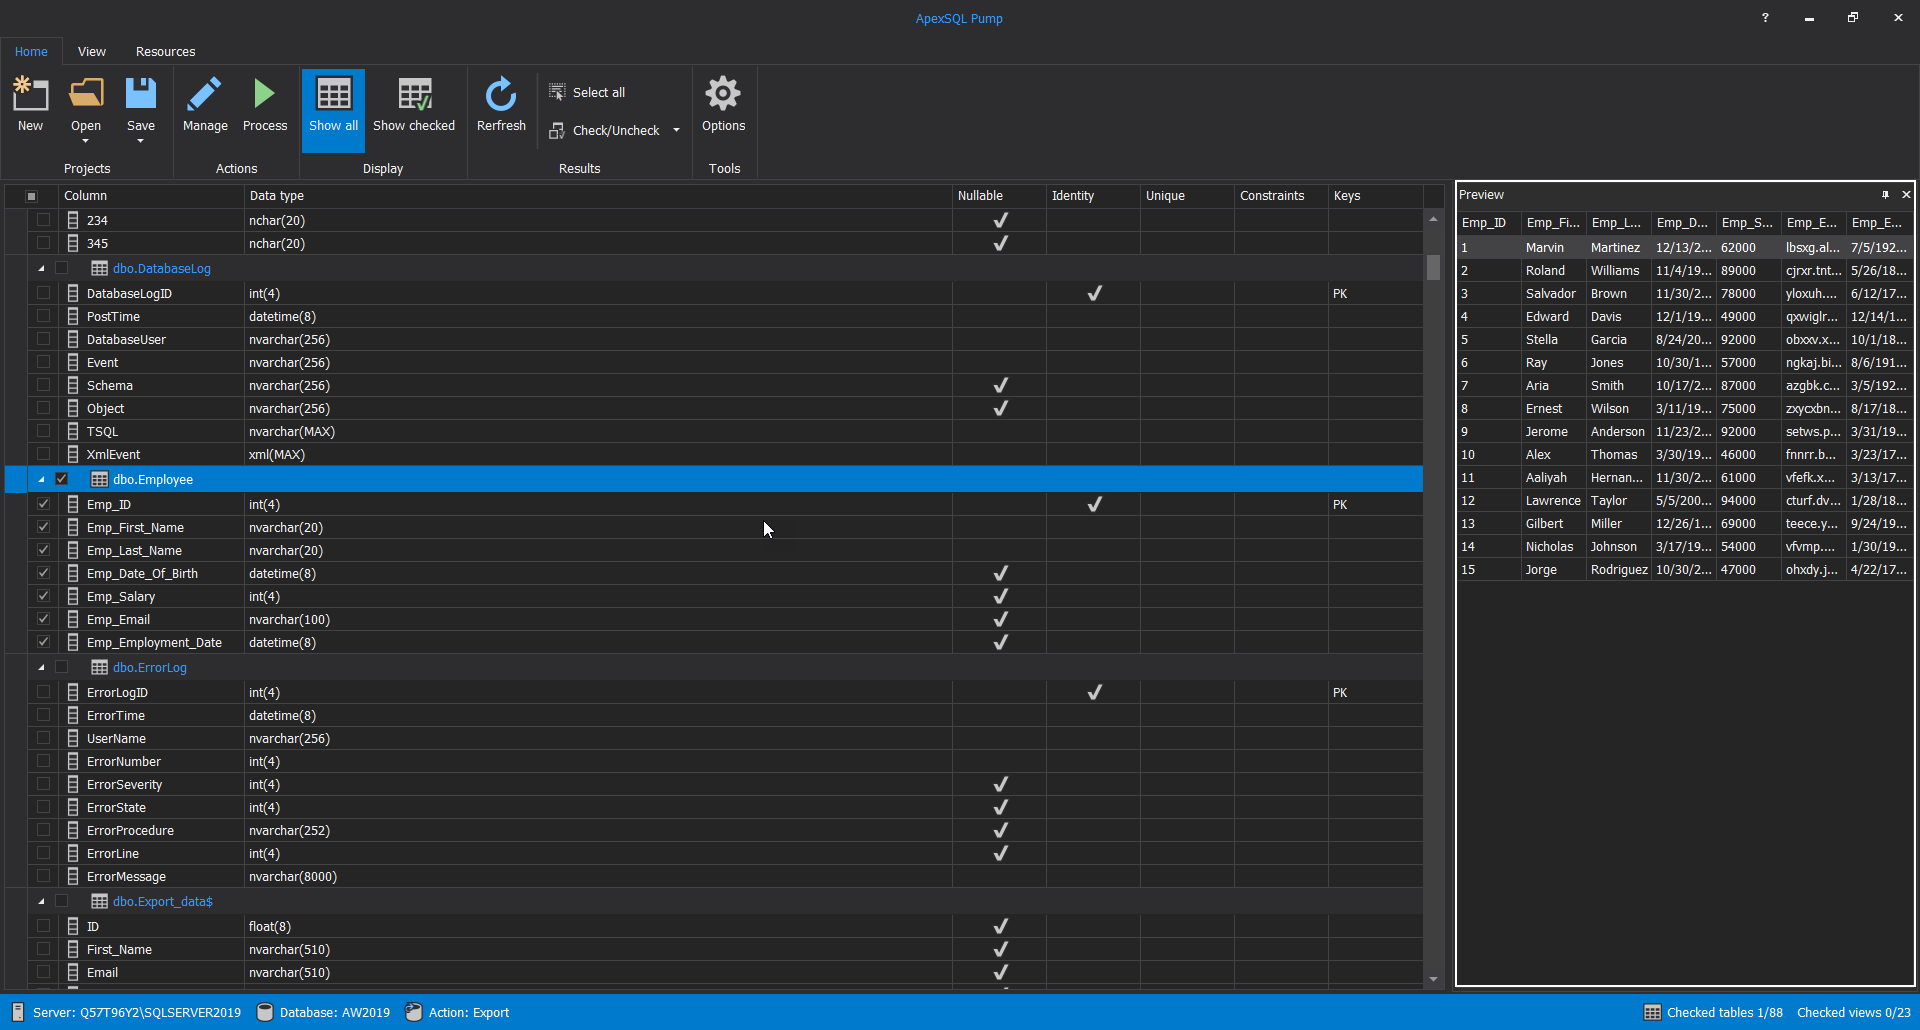
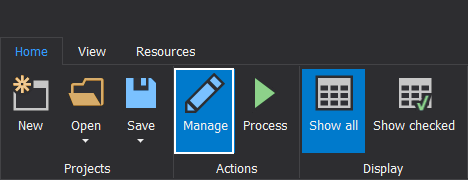
When a column for export SQL Server data is selected, the next step is to click on the Manage button in the Home tab to customize the export parameters:
The Manage export window will appear. In the Formats tab, all file types in which the data from SQL Server can be exported are presented. Select the file type to which data will be exported by clicking on its name. The CSV file type will be chosen in this case:
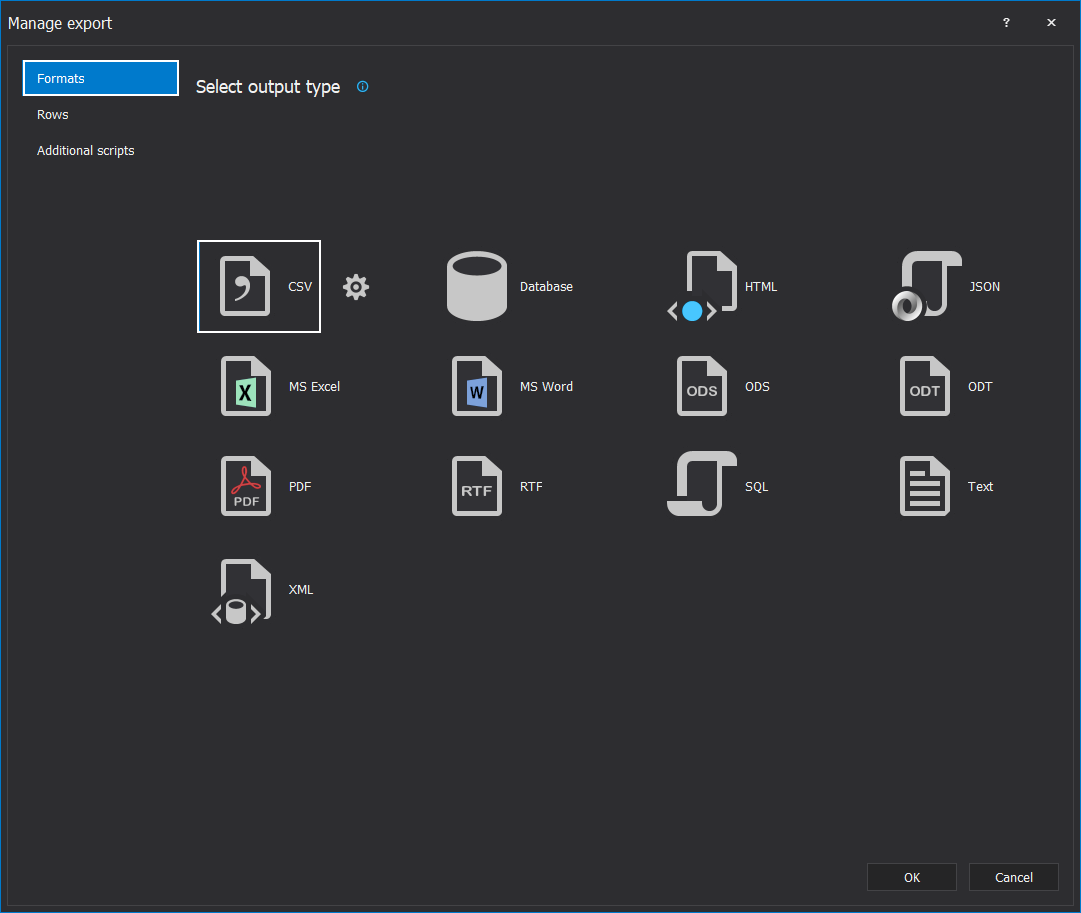
Next to the selected file type the Settings button will appear:
By clicking on that button the Options window related to the selected file type will open in which additional options can be set regarding the selected file type. In CSV Options dialog the following options can be set:
- Quote strings – represent a character that will put the data values as quoted in the export file
- Force quote – when this option is checked every data value will be quoted with quote strings
- Show table header – column names will be shown in exported CSV file as header if this option is checked
- Separator – in this section the Tab, Space, Comma or Custom separator to separate field in one table can be set
- Data Formats – this section contains options to format the data in specific way in the exported file, like date and time formatting, Boolean type values , etc.
If the customization is finished, click on the OK button to close the dialog:

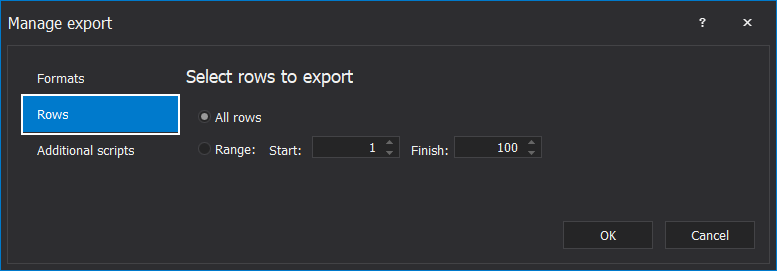
In the Rows tab of the Manage export window the number and scope of rows to export can be defined:
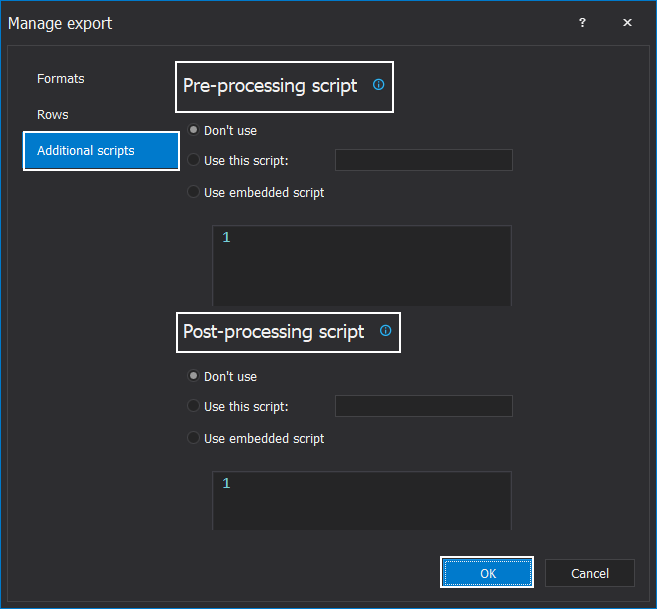
The Additional scripts tab is the last tab in Manage export window. Here, a SQL script for manipulating the data in SQL database can be used. For example, if the data in one of the selected tables has dynamic data masking applied, with this method we could disable masking before exporting data, and enable it again after export. Where the Pre-processing script will be used before export SQL Server data, and Post-processing script will be used after exporting data. Click the OK button to proceed further:
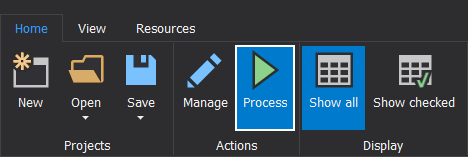
If data export definition is completely set, click on the Process button in the Home tab:
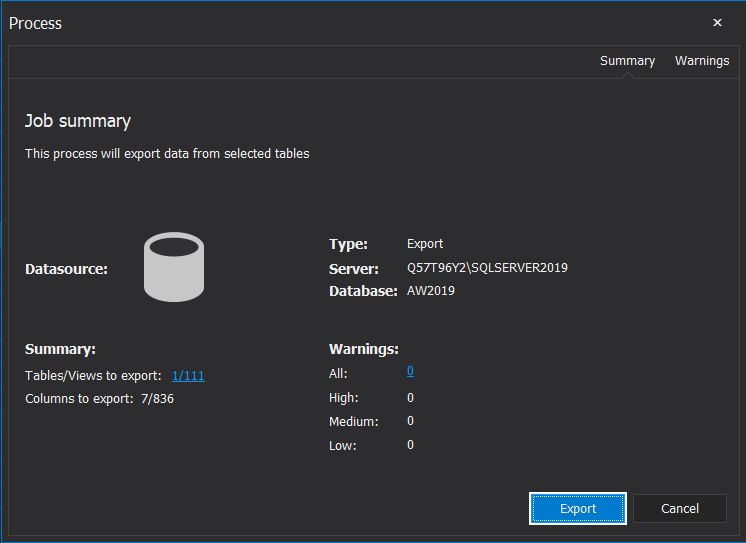
The Job summary window will appear, with the Summary information about how many tables or views and columns will be processed and the Warnings information which may address some export configuration inconsistencies or mistakes. After reviewing this info click on the Export button to start the export SQL Server data process:
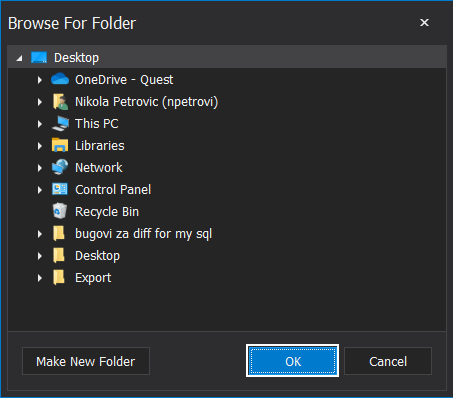
The Browse for folder dialog will pop up where the destination path for saving the exported file should be set. The click on the OK button, when the destination path is selected, will start the process of exporting data:
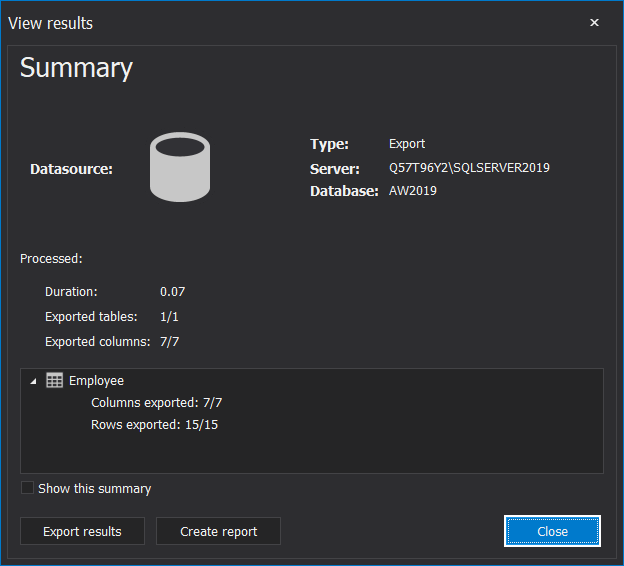
After the processing of export SQL Server data is finished, the View results window will be shown. That window will contain information about the previously finished exporting process. Click on the Close button will send the view back to the main grid of ApexSQL Pump:
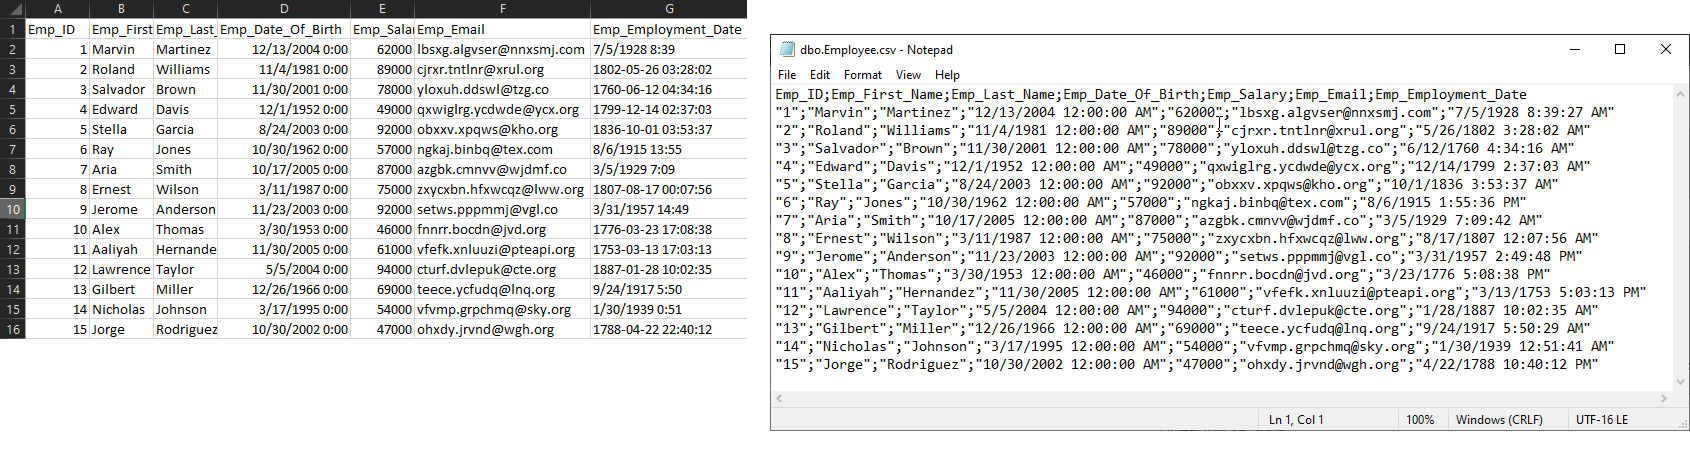
After finishing the exporting process, the CSV file with exported data will look like this:
ApexSQL Pump is an easy wizard type tool that will save time to organize and export SQL Server data from multiple tables to the CSV file type. In addition to CSV export, with ApexSQL Pump, SQL Server data can be exported in 12 more different file types.
February 26, 2021


